The ability to Product Filter for WooCommerce is an essential part of any online store to make sure more ease and efficiency while searching for the desired products. If you are an e-commerce site owner and looking for an effective and high-performing WooCommerce Plugin for advanced filtering options, UpFilter will be the perfect solution.
This WooCommerce Ajax Filter Plugin enables state-of-art product filtering ability in your WooCommerce store. Therefore, the buyers can easily filter the products by various aspects such as taxonomy, attributes, price range, size, etc. as per their needs and get their desired products in minimal time and search.
How to Install UpFilter
You will get a zip file like this “upfilter-pro-v0.0.0-installable.zipâ€.
You need to upload “upfilter-pro-v0.0.0-installable.zip†to your WordPress dashboard.
To do this, go to the “Plugins†menu from the dashboard panel and click on “Add Newâ€.

Click on the “Upload Plugin†button to upload the plugin. Before installing UpFilter, make sure that the free version of UpFilter is also activated.

How to Install & Activate the UpFilter Pro ?
How to activate the license key?
After purchase UpFilter Pro you’ll receive an email from HasThemes Client Portal with a “Set-up Password†link. Click it to set your password and access your portal for easy account management. Welcome to ShopLentor!
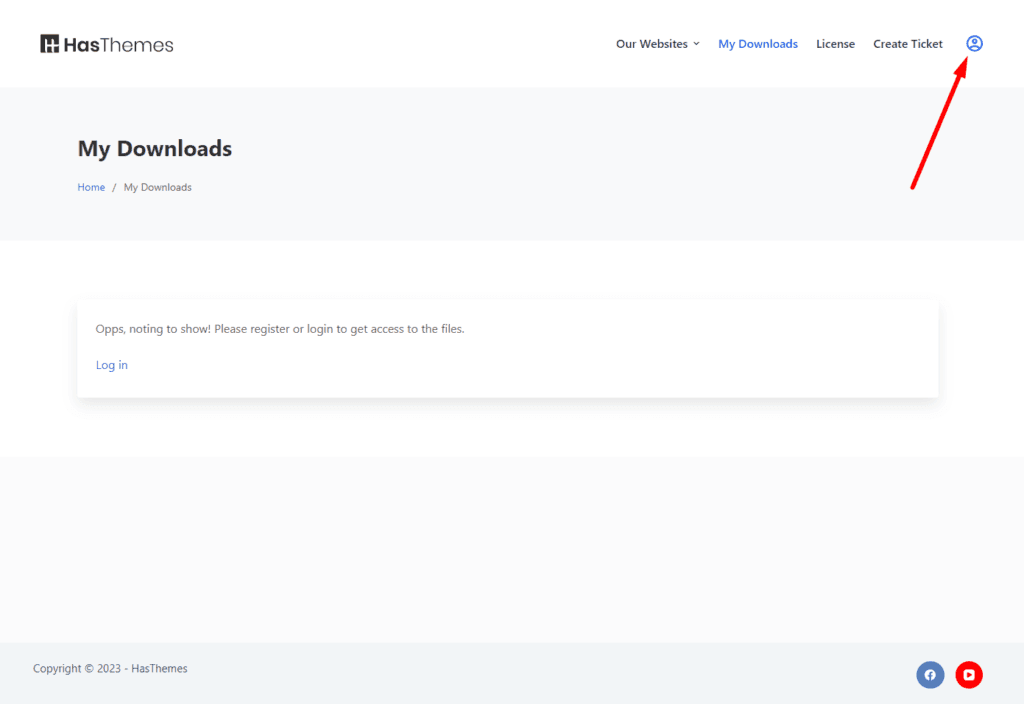
Click the user icon to login
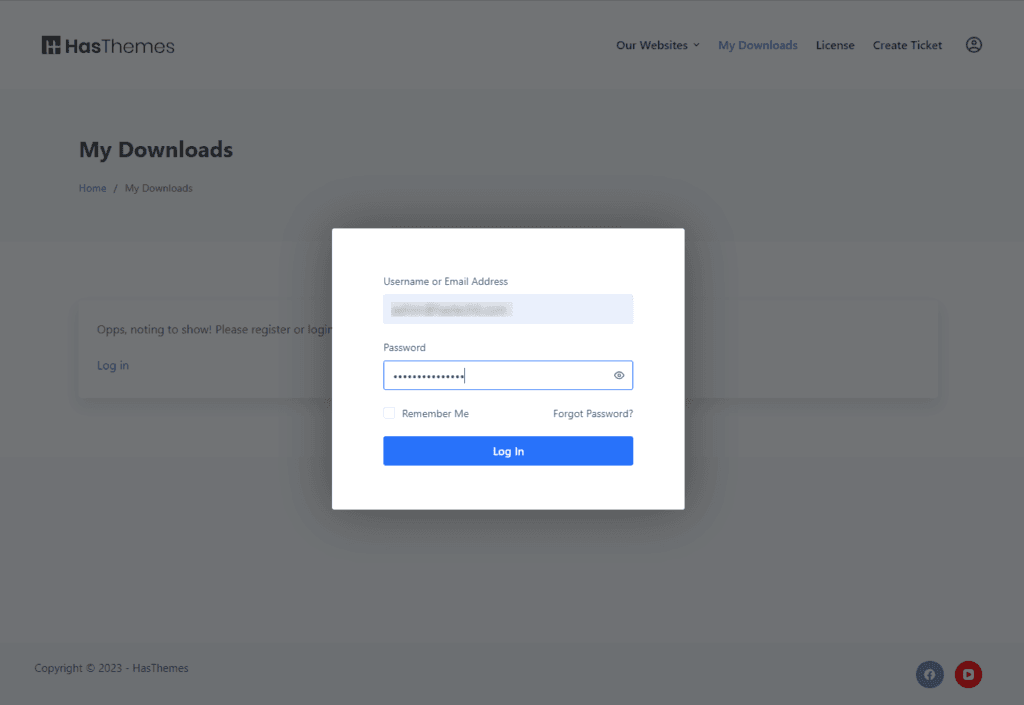
Log In with Username or Email Address and Password.
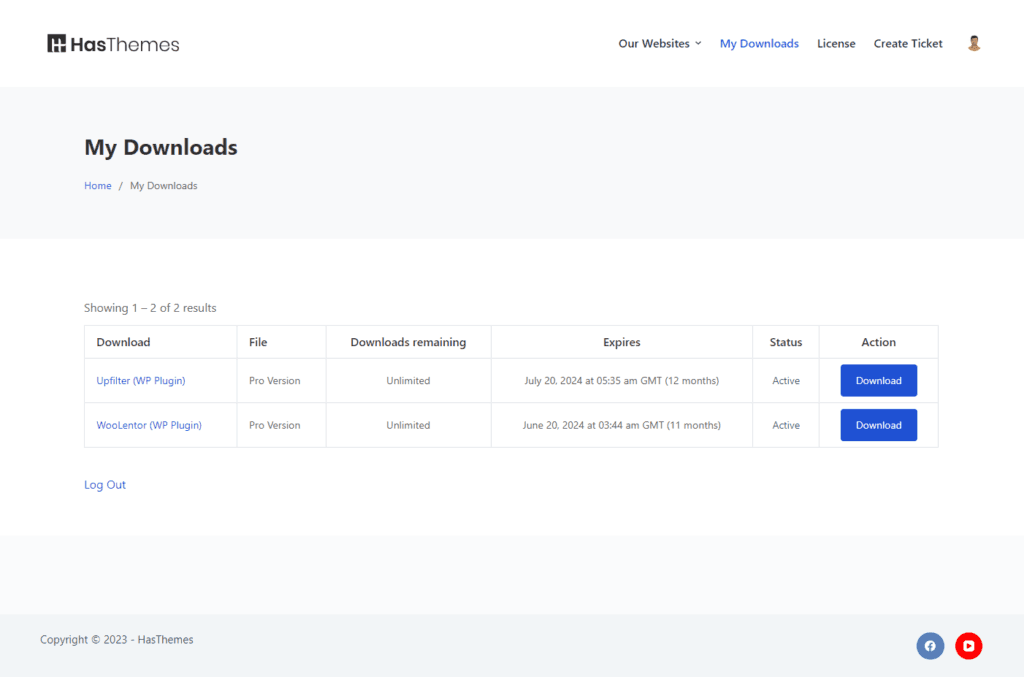
Now you can see the product you have purchased. Here you can download the latest file.
Now click on License from menu to manage license.
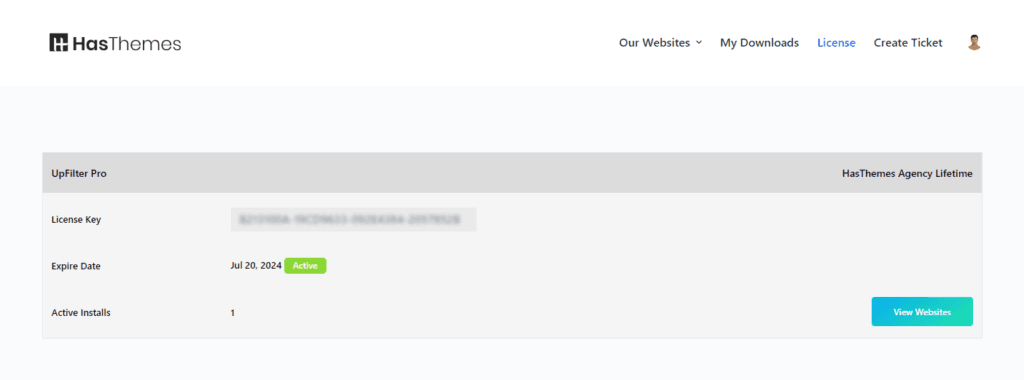
Now copy the License key and paste on your UpFilter license activation.
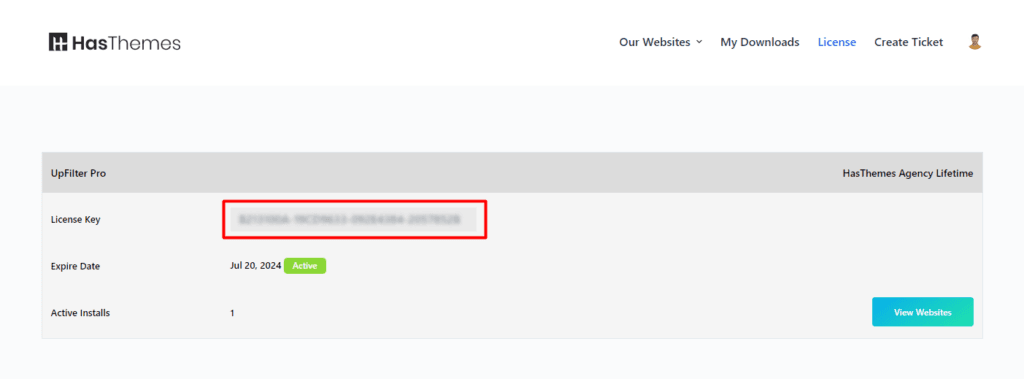
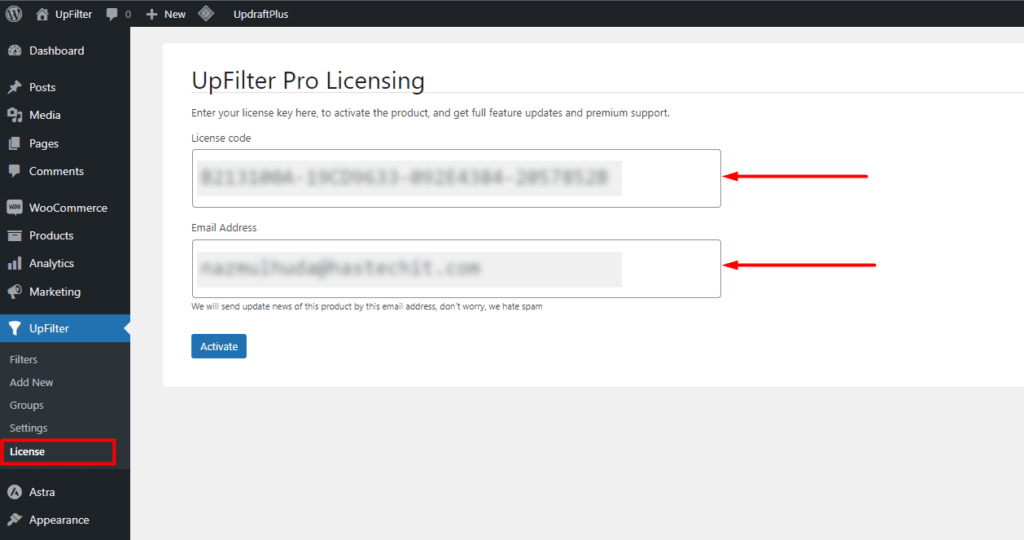
Paste your License Code and give your Email Address here and press the Activate Button
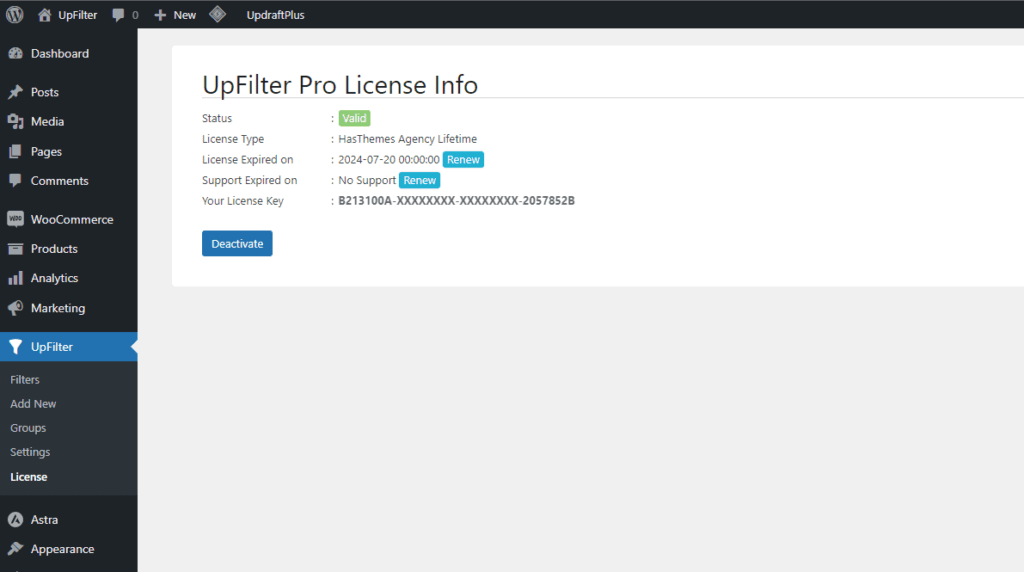
Now you can notice this kind of scenario like the below Image
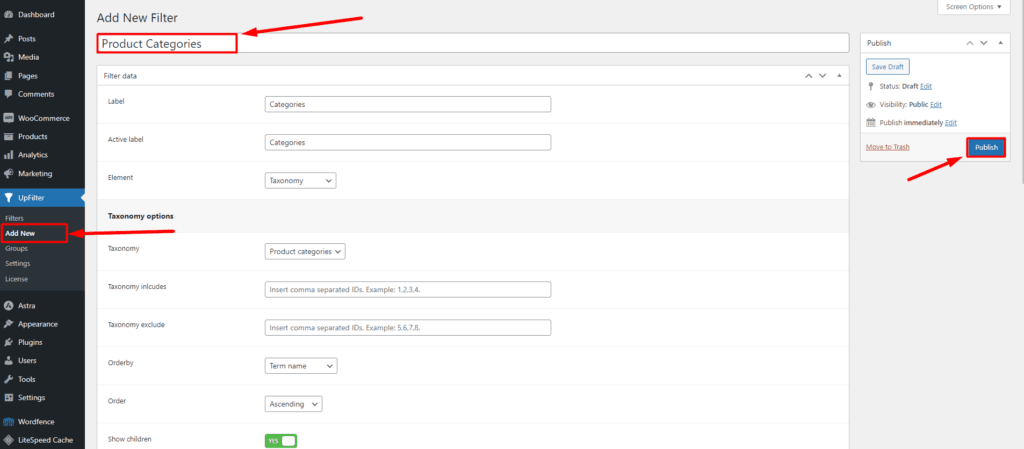
How to add a product filter item (Filter by Category) with UpFilter?
To add a new product filter item using UpFilter, access the UpFilter menu in your WordPress dashboard and click on the “Add New” submenu. Provide a unique name for the item and set the filtering criteria and taxonomy to determine its functionality and product display. Once you have configured the details, click “Publish” to make the product filter item live on your WooCommerce store, enhancing the overall filtering experience for your customers.
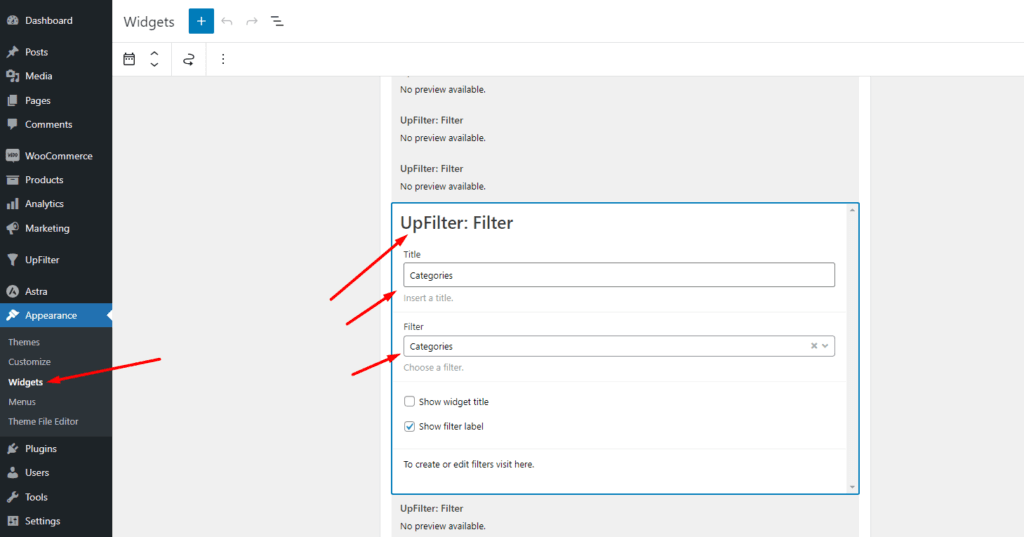
Widget Setup for view the frontend
Navigate to “Appearance > Widgets“.
Select the filter created in the Filters section by selecting the “UpFilter: Filters” widget within the WooCommerce sidebar widget.
Then update and save the widget page.
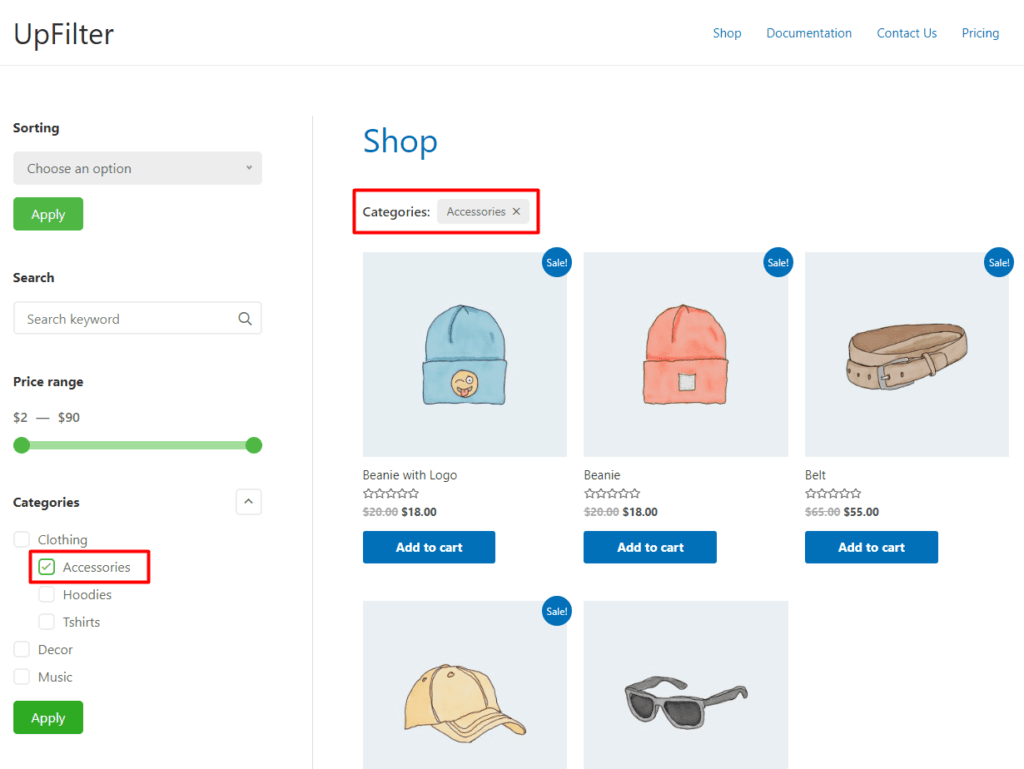
Shop Page Frontend view.
Discover the filter option on the sidebar by visiting your shop page. If you haven’t set up the sidebar for your shop page yet, please take a moment to do so now.
How to add AJAX search filter using UpFilter?
How to add AJAX price range filter using UpFilter?
How to use the UpFilter WordPress Plugin?
The UpFilter WordPress plugin provides powerful options for customising and enhancing your WooCommerce product filtering experience. Below, we’ll guide you through the various settings available to help you make the most out of the plugin.
UpFilter’s Global Settings
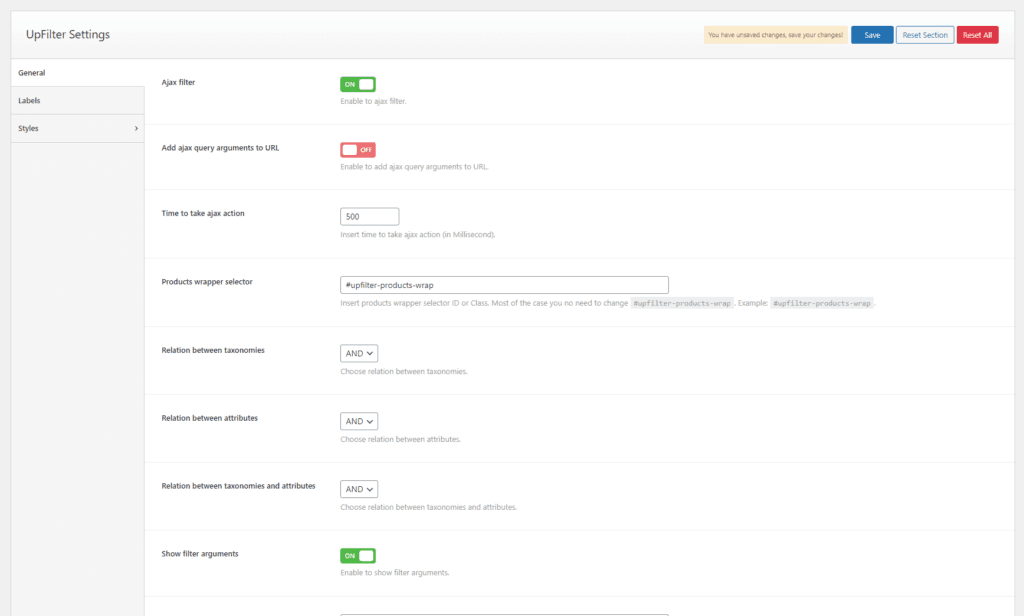
The global settings of UpFilter allow users to configure options that apply to all filter items within the application. These settings provide a convenient way to establish consistent behavior and appearance across the entire filtering system. By adjusting these global settings, users can customize the filtering experience to suit their specific needs and preferences.
General Settings:
- Ajax Filter: Enable or disable Ajax filtering functionality with a simple toggle.
- Add Ajax Query Arguments to URL: Decide whether to include Ajax query arguments in the URL by enabling or disabling this option.
- Time to Take Ajax Action: Customise the time taken for the Ajax action according to your preferences.
- Products Wrapper Selector: Set the desired product wrapper selector for the default shop and product archive pages.
- Relation Between Taxonomies: Choose the relationship between taxonomies, whether it should be AND or OR.
- Relation Between Attributes: Select the relationship between attributes, whether it should be AND or OR.
- Relation Between Taxonomies and Attributes: Decide the relationship between taxonomies and attributes, choosing between AND or OR.
- Show Filter Arguments: Enable this option to display filter arguments.
- Query Arguments Prefix: Set the query argument prefix to customise your query URLs.
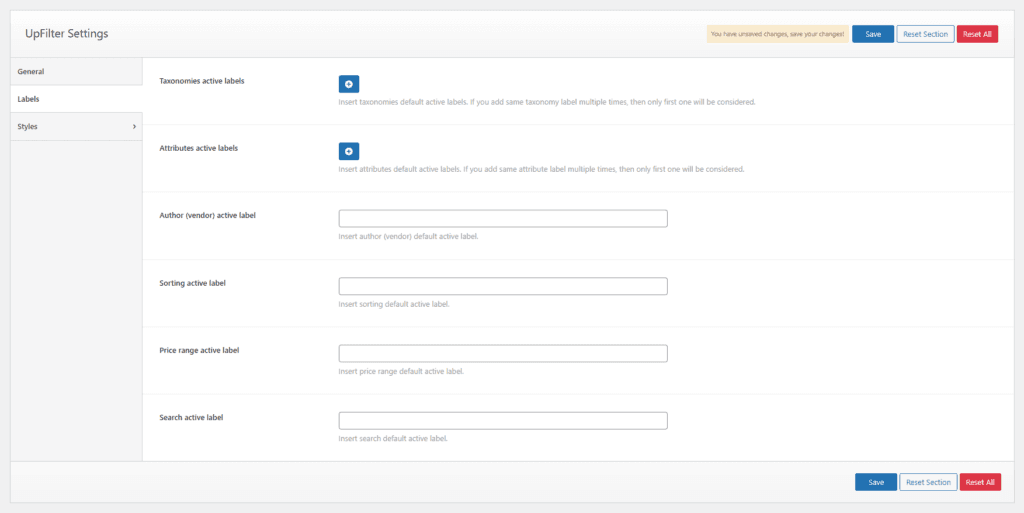
Labels Settings
- Taxonomies Active Labels: Insert default active labels for taxonomies. If you add the same taxonomy label multiple times, only the first one will be considered.
- Attributes Active Labels: Insert default active labels for attributes. Similarly, if you add the same attribute label multiple times, only the first one will be considered.
- Author (Vendor) Active Label: Customise the default active label for the author/vendor.
- Sorting Active Label: Set the default active label for sorting options.
- Price Range Active Label: Customise the default active label for price range filtering.
- Search Active Label: Set the default active label for search functionality.
Styling Settings
You have the freedom to style the following sections:
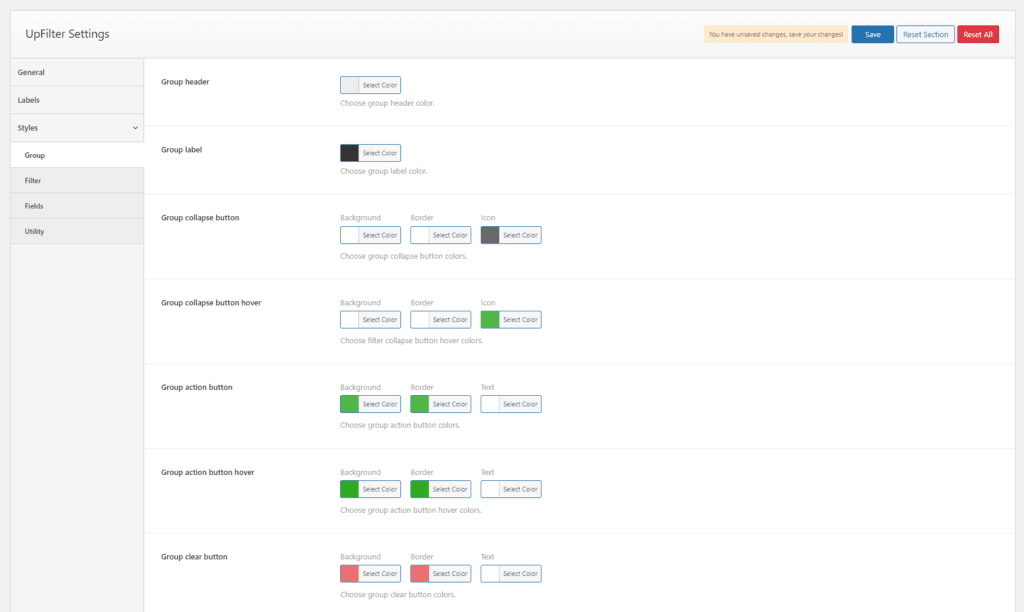
Groups Style
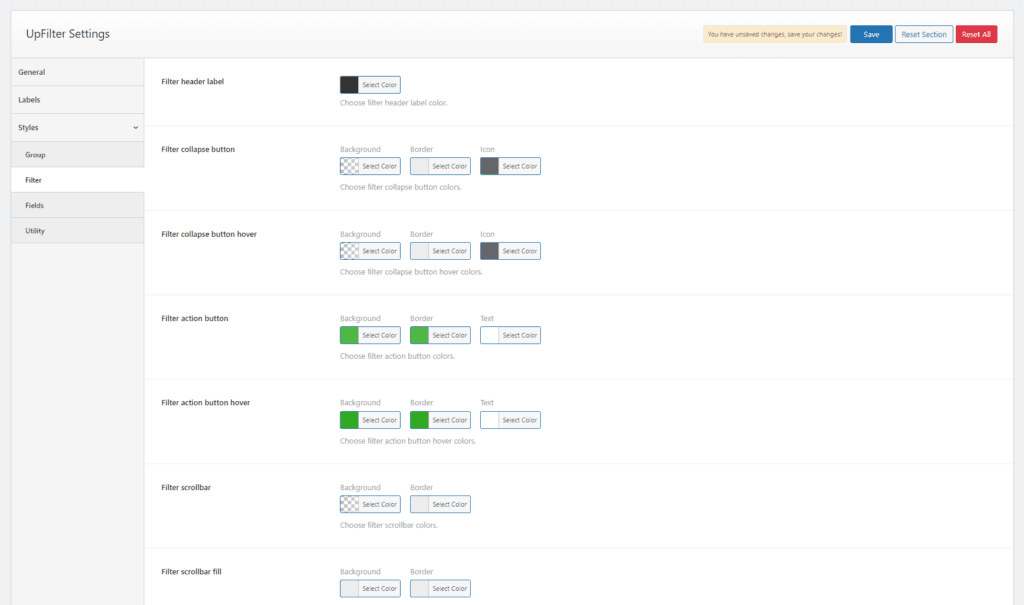
Filter Style
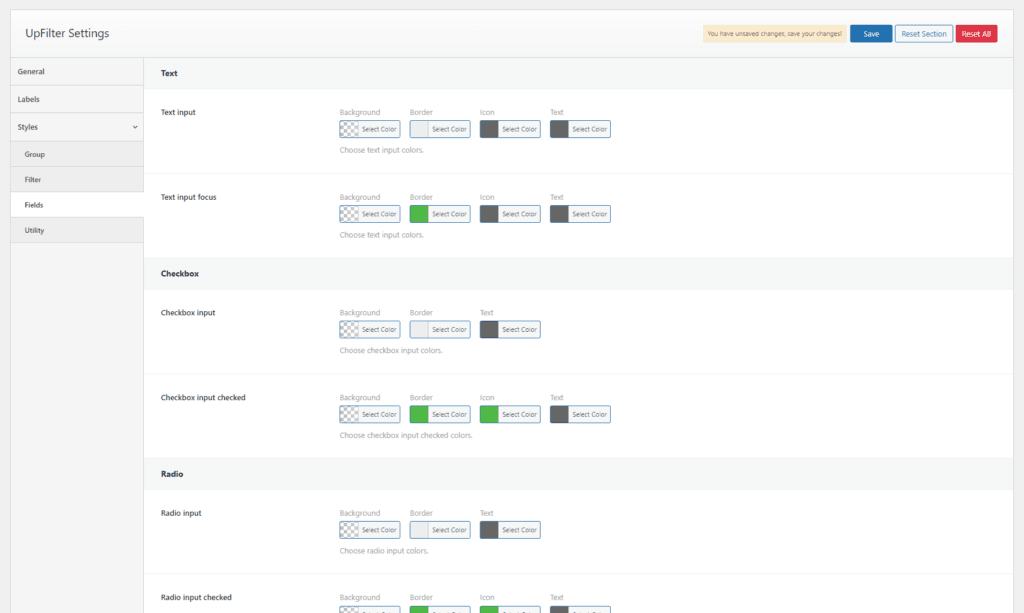
Fields Style
Utility Style
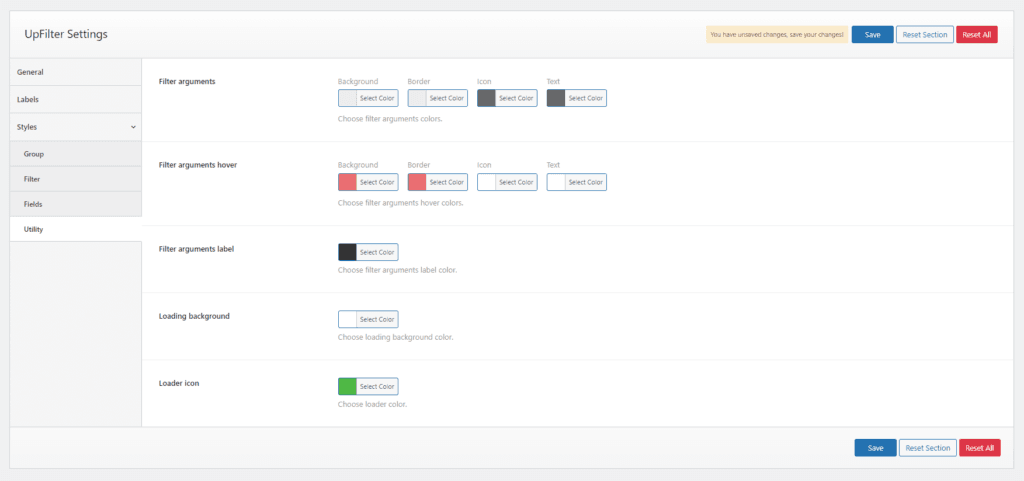
With these flexible settings and styling options, you can seamlessly integrate the UpFilter plugin into your WooCommerce store and provide an enhanced product filtering experience for your customers.
(Note: Make sure to save your settings after making any changes to ensure they take effect on your website.)
Item Settings Panel
The Item Settings panel provides a variety of new filters that can be utilized when adding an item. These filters offer a seamless way to enhance the item management process, allowing users to organize and categorize items effectively. By leveraging the available filters within the Item Settings panel, users can create a refined and customized filtering system, resulting in a more streamlined and enjoyable user experience.
Procedures of Filter Elements setup
Label: Provide a descriptive label for your product filter item. This label will be displayed to users when they interact with the filter on the front-end of your website.
Active Label: This label will be shown to users when they apply the filter, indicating the currently active filter selection.
Element: Choose the type of product filter element you want to use. UpFilter offers various options, including Taxonomy, Attribute, Author, Price Range, Search Input, and Sorting.

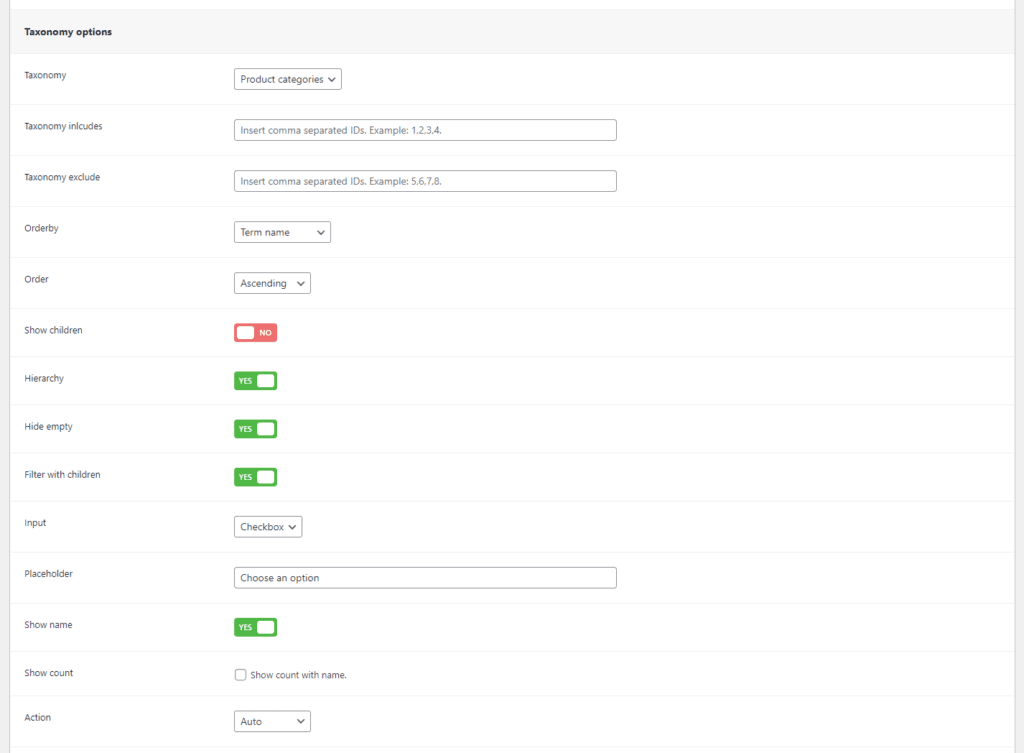
Procedures of Taxonomy options
Taxonomy: Select the desired taxonomy, such as Product Categories or Tags.
Taxonomy Includes: Enter the IDs of the terms you want to include, separated by commas.
Taxonomy Exclude: Enter the IDs of the terms you want to exclude, separated by commas.
Orderby: Choose the attribute by which the terms will be ordered (Term name, Term Slug, Term ID, Term order, Term item count, Include).
Order: Select the ordering of the terms, which can be either Ascending or Descending.
Show Children: Specify whether to display children category terms (Yes or No).
Hierarchy: Choose whether to display the terms in a hierarchical structure (Yes or No).
Hide Empty: Decide whether to hide terms with no associated items (Yes or No).
Filter with children: Choose whether to filter with children’s terms (Yes or No).
Input: Select the preferred field type (Radio, Checkbox, Select).
Placeholder: Set a placeholder for the field type to provide a hint or example.
Show Name: Specify whether to display the names of the terms (Yes or No).
Show Count: Choose whether to show the number of products associated with each term (Checkbox).
Action: Determine how the filter is applied – automatically or upon button click (Auto or Button click).
Max. Height: Define the maximum height of the taxonomy selection area.
Collapsible: Decide whether to include a collapsible icon (Yes or No).
