If you’re running a WooCommerce store, there may be times when you need to put it in maintenance mode. This could be for a variety of reasons: you may be doing some upgrades or changes to your site, you may be migrating to a new host, or something else. In this blog post, we’ll show you how to put WooCommerce in maintenance mode easily and quickly!
Table of Contents
What is Maintenance Mode in WooCommerce
Maintenance mode is the setting of disabling access to your website for a temporary period while maintenance or updates are being done. This is an important feature for anyone running an online store; it allows you to make any changes without customers seeing bugs or unfinished features. It also lets you take your website offline without having to manually shut it down or disable users’ access.
When making significant changes to your WordPress website, it’s recommended to take the site offline to avoid visitors encountering any imperfections. Although minor alterations like uploading content and publishing updates can still be done while the site is live.
When in maintenance mode, all web pages lead to a screen that notifies visitors of why the website isn’t available at this time and provides an estimate of when they can visit again. You can use the wp_maintenance function in WordPress to create a maintenance file with your own message. Once you’re done building, simply instruct WordPress to delete the maintenance file, and your website will return to normal.
Moreover, this same feature may be used when preparing for an upcoming website launch. Utilize its powerful Coming Soon screen so that visitors are aware of when they should return.
Why May You Need to Put WooCommerce in Maintenance Mode
While some modifications like managing content or creating a blog post can be done without putting your website into maintenance mode, more complicated changes such as configuring plugins and customizing themes should always be undertaken while your site is offline. This will help you avoid any potential risks of crashing the live version of your site. To ensure important updates don’t affect the experience of visitors, it’s best to use an “under construction” page for the transition period. This will provide optimal security.
If you’re considering placing your WordPress site in maintenance mode, here are a few compelling reasons why it’s the right move.
- When you’re switching hosting providers.
- Avoid creating a negative impression with an unresponsive or malfunctioning website.
- If you’re doing maintenance or making changes to the website.
- When you’re updating WordPress, plugins, and themes.
- For testing new features before releasing them to the public.
- To create a “Coming Soon†page for new websites.
- To troubleshoot website issues without making them visible to the public
When to Put WooCommerce in Maintenance Mode
As a WooCommerce store owner, you never want to lose out on potential sales, but sometimes maintenance is necessary. So, when should you put your WooCommerce site in maintenance mode? The answer can vary depending on the situation, but generally, you should put your store in maintenance mode when you’re making significant changes like updating themes, plugins, or even the core software.
Additionally, if you’re adding new products or conducting inventory management, it’s best to put your store in maintenance mode to ensure that customers can’t make purchases during a potentially confusing or even inaccurate time.
However, putting your site in maintenance mode at the wrong time can result in unhappy customers and loss of sales. Generally, it’s best to do so during non-peak hours, such as late at night or early in the morning. Another consideration is to give your customers advance notice, whether by posting a message on your homepage or sending out an email blast, so they can plan accordingly.
By utilizing maintenance mode when necessary, you can ensure that your WooCommerce site is always functioning at its best for both you and your customers.
Benefits of Putting WooCommerce in Maintenance Mode While Making Major Changes
When making significant updates or changes to your WooCommerce store, it’s important to put your site in maintenance mode. Doing so will provide numerous benefits to both you and your customers.
Here, we’ll outline a few remarkable benefits of activating WooCommerce’s maintenance mode.
Keeps customers informed:
When your site is in maintenance mode, visitors will be redirected to a maintenance page with a message explaining why the site is down. This reduces the amount of frustration and confusion that they may have while their favorite store is undergoing maintenance work.
Allows you to make changes without interruption:
Another advantage of maintenance mode is that it allows you to make changes or updates without anyone seeing them. This ensures that your store remains running smoothly while you work on new features, bug fixes, and other improvements.
Gives you control over when maintenance is performed:
Maintenance mode allows you to control the timing of your maintenance work. You can choose to do it at a time that’s convenient for you so that it doesn’t interfere with customer traffic or sales.
Improved security:
Lastly, maintenance mode also adds an extra layer of protection by preventing any unauthorized access to your site’s sensitive data and information.
Enabling maintenance mode allows you to take your WooCommerce store offline safely and securely. This maintenance message will inform visitors that the site is temporarily unavailable and should be backed up shortly. It also prevents customers from making purchases while the changes are being made.
Ways to Put WooCommerce in Maintenance Mode
Here are several ways to put your WooCommerce store in maintenance mode, so you can make any necessary updates or changes without disrupting customers.
Using Light Start Plugin
The Lightstart Maintenance Mode plugin is your key to activating maintenance mode without having any coding experience.
All you have to do is download and install the plugin, head over to the WordPress dashboard, select Settings -> WP Maintenance Mode, and then you’ll see five tabs – General, Design, Modules, Manage Bot, and GDPR.
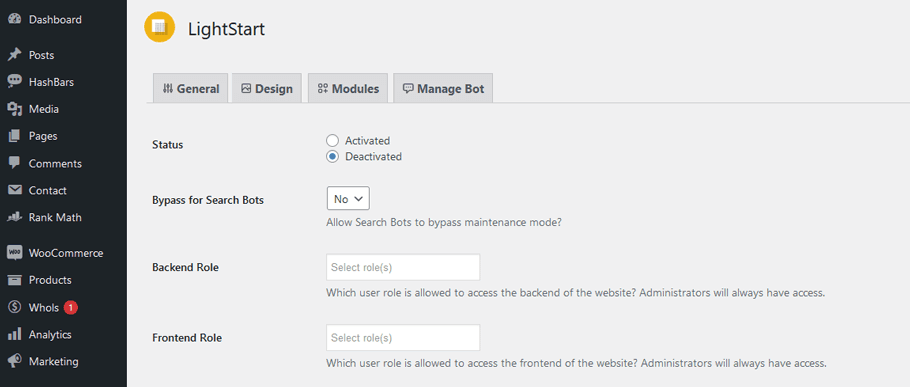
With the general tab, you can activate or deactivate WordPress under construction mode in just one click. If you’re worried about search engine optimization, activating Bypass for Search Bots will allow search engines to access your website during maintenance. Plus, with the Back end Role and Front end Role options, you can decide who has access to your site during maintenance mode, making it easy to limit access to certain user roles.
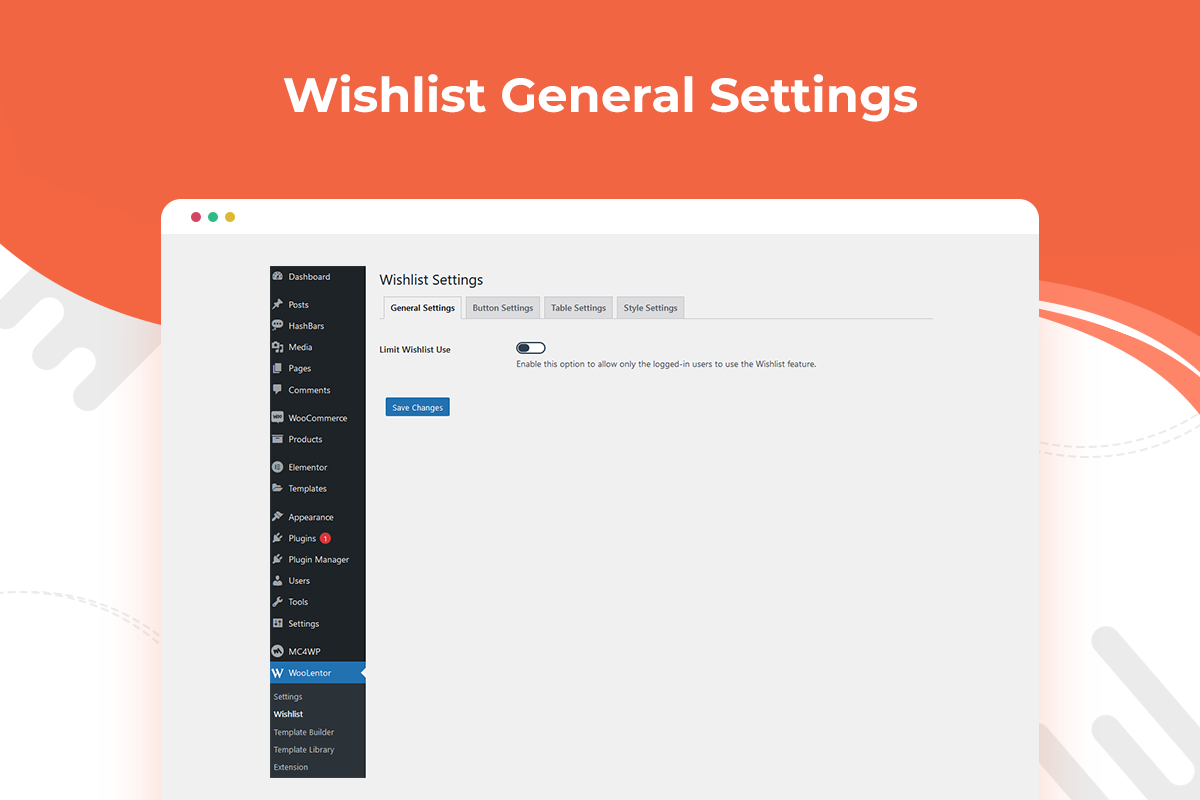
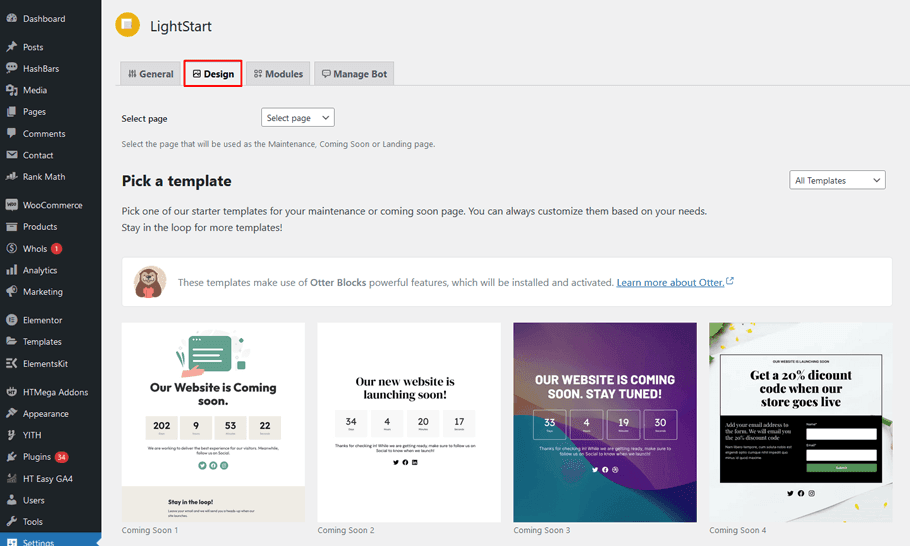
The Design tab allows you to create an attractive and visually appealing page to welcome your visitors when your website is temporarily unavailable.
Set a countdown timer and notify your clients once your website is back up and running with the Module. Plus, easily connect all your social media accounts to the splash page with just a few simple clicks.
Create a subscription form more interesting by adding an interactive chatbot feature that users can engage with while waiting for the maintenance mode to be over. The chatbot will provide 10 different personalized messages with four response options for each message. This will give users a unique experience while signing up with Manage Bot, and you can collect their names and email addresses as well.
Enhance the privacy of your audience with WordPress GDPR compliance. It’s crucial to set up this tab to ensure that every bit of data or information gathered on your splash page subscription form abides by GDPR. Protect your visitors’ personal data and make sure you’re aligned with the latest data protection laws.
Using WP Maintenance Plugin
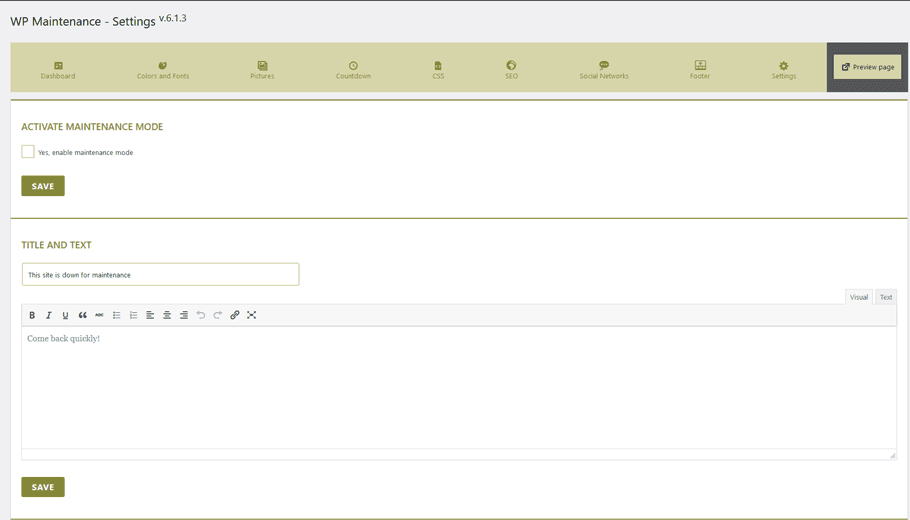
WP Maintenance plugin is another plugin that makes it easy for you to customize your maintenance landing page with minimal effort. After activation, the plugin’s settings are readily available in the left sidebar which includes nine distinct sections:
General: You can activate the maintenance mode and configure your landing page message here.
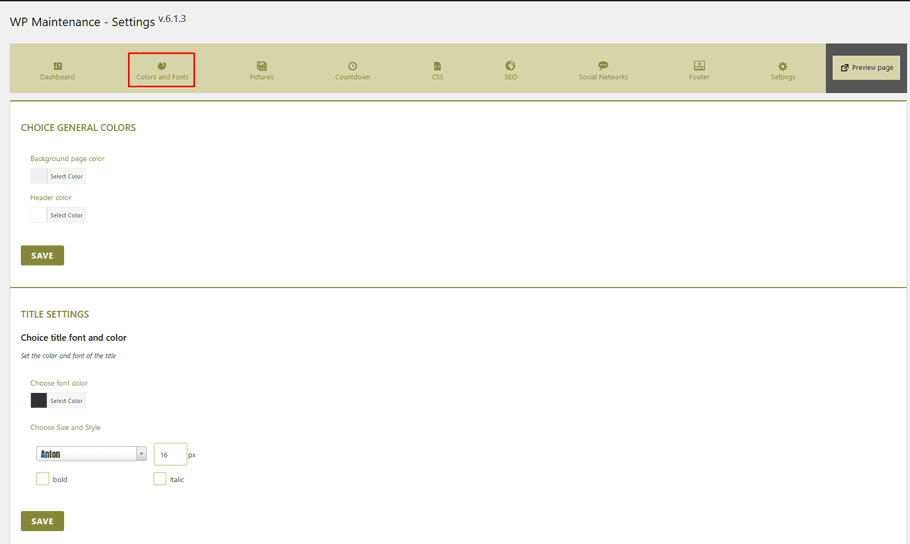
Colors & Fonts: Tailor the landing page to your exact specifications. Change the background color, text hue, and fonts so they align with your brand identity. Remember that there is no visual editor or drag-and-drop builder available; you will need to adjust these elements manually.
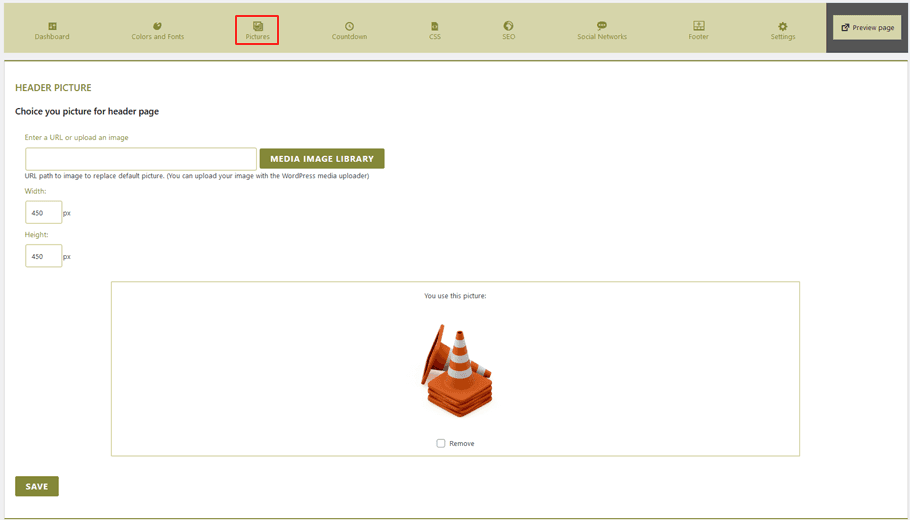
Pictures: Give your website a creative touch by adding an eye-catching header image and background image. For added flair, consider incorporating a pattern picture or even a slider to really make it pop!
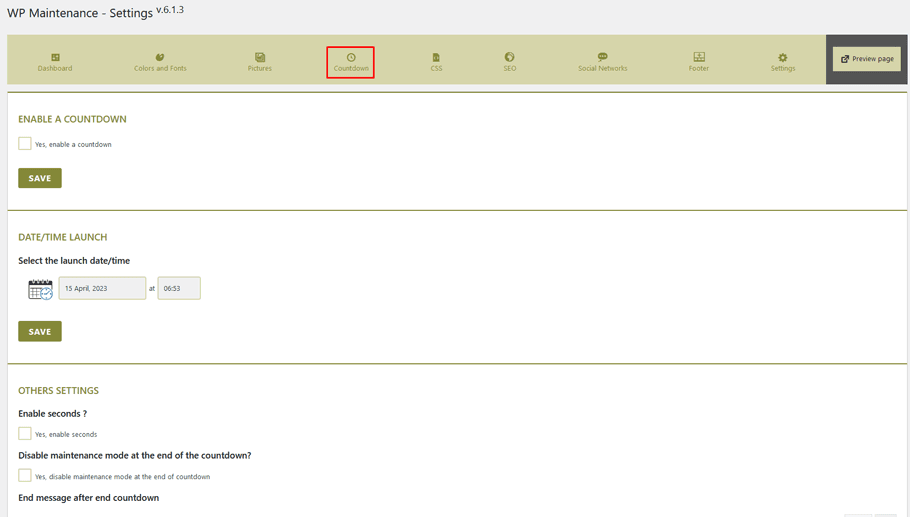
Countdown: Activate the countdown timer and set a specific launch date and time. You can also opt for an automation mode that will make your website live at the conclusion of the countdown, removing any construction-related hindrances from view.
CSS Style: This CSS sheet is necessary to make sure the maintenance page looks and functions exactly as you desire. You can customize it perfectly by adding your own custom CSS!
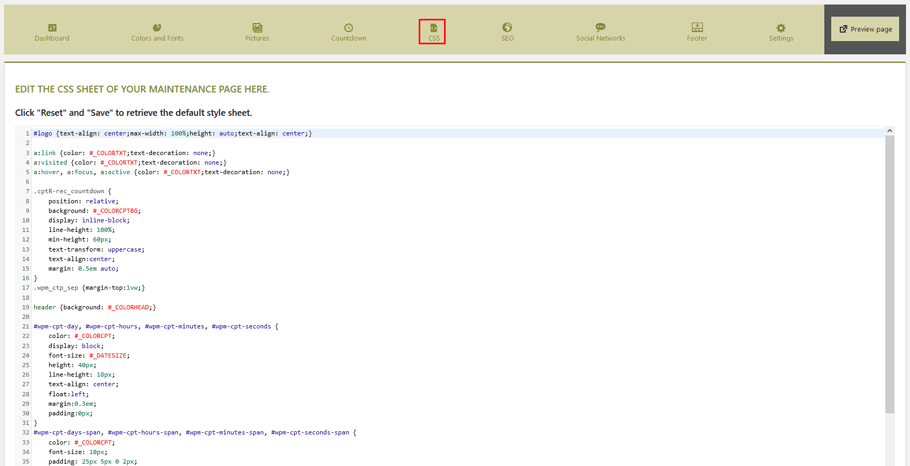
SEO: Here, you can easily configure SEO settings and modify the page’s meta title and description. Plus, you can quickly add a favicon to your site for an extra touch of personalization!
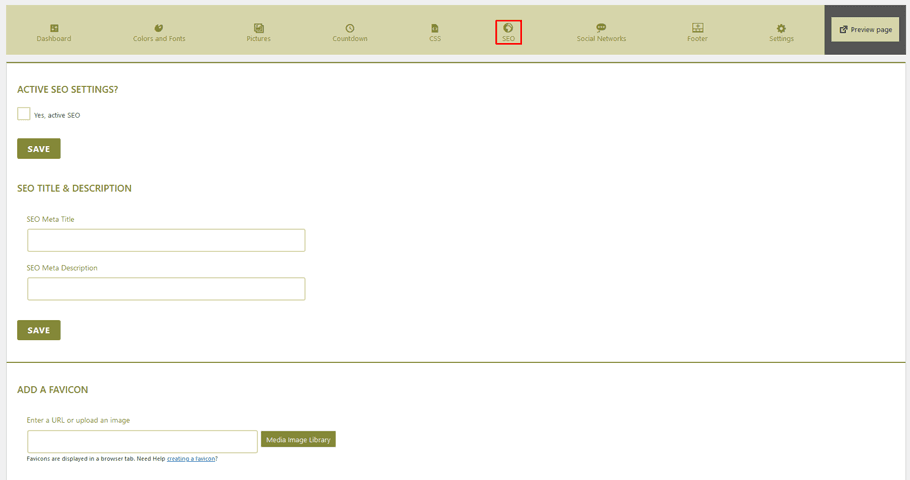
Social Networks: Make sure to incorporate social media connections into your under-construction landing page. By doing this, visitors will be able to access more information and stay in touch with you on other platforms.
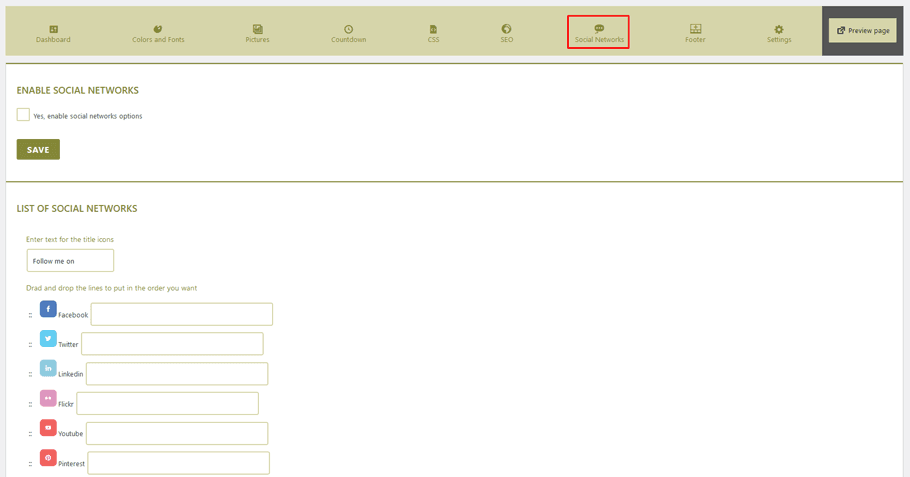
Footer: Add a custom footer to the maintenance page, and configure your text. You even have the option of connecting a link to an external dashboard!
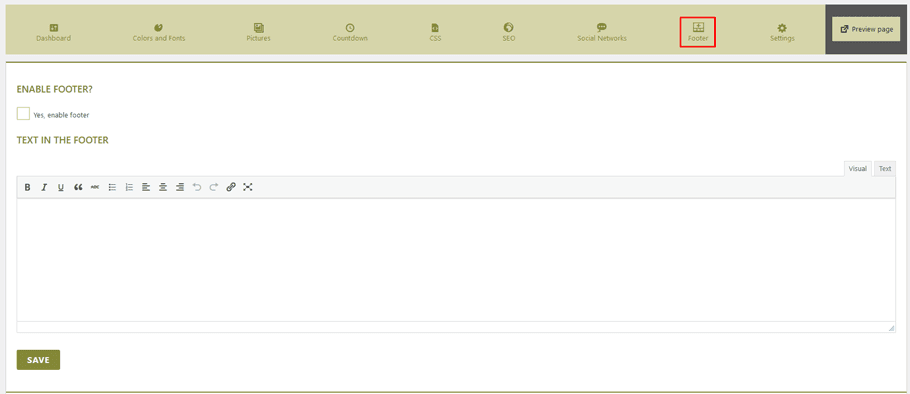
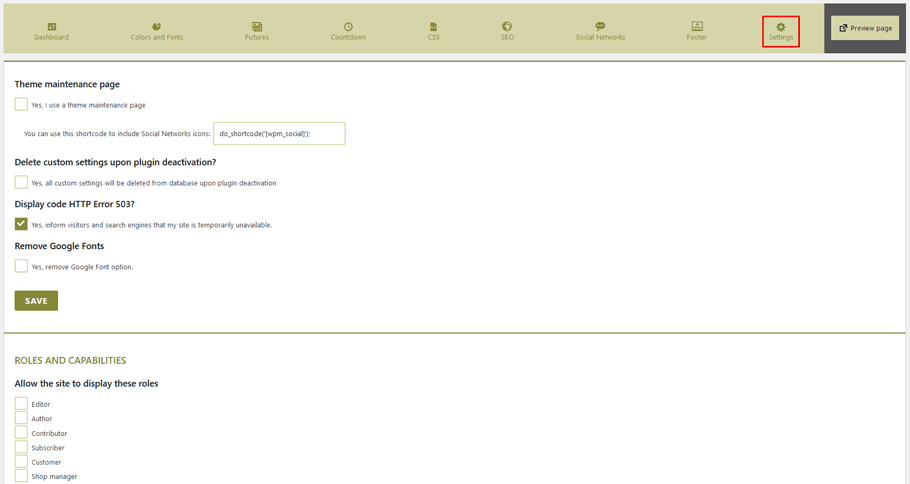
Settings: Featuring additional configurations, this plugin allows you to activate a theme maintenance page, delete custom settings upon deactivation and display server error codes.
Using hostinger’s hPanel Dashboard
- Hostinger’s shared hosting, cloud hosting and WordPress hosting solutions offer the convenience of a maintenance mode activation directly from their hPanel.
- To begin, log in to your hPanel account. Navigate to the WordPress Dashboard > Core and locate Maintenance Mode. Activate or deactivate it by simply clicking on the slider switch.
- You won’t need to waste your time configuring any WordPress plugins with this straightforward method.
- It is not possible to personalize the landing page in a way that restricts website users from viewing the default message.
Using the .htaccess File
Please note: You must make customizations to the .htaccess file for this method to work. For precautionary measures, back up your .htaccess beforehand. Additionally, you will not be able to access your WordPress dashboard since all requests will direct visitors toward the maintenance.html page instead.
- Locate your .htaccess file, simply login to Hostinger hPanel, and navigate to the File Manager. From there, open up the public_html folder.
- Quickly assemble a maintenance.html page with your “under construction” message, or upload the file if you have one ready to go. This will be essential for displaying your maintenance screen when needed.
- Look for the .htaccess file in your public_html directory, and open it by right-clicking on the icon. From there, select Edit to start making changes!
To ensure you have a backup, copy the contents of your .htaccess​file and paste it into an entirely new file called .htaccess_default. Then, include this code snippet to the original content in the.​htaccess ​document:
RewriteEngine On
RewriteBase /
RewriteCond %{REQUEST_URI} !^/maintenance\.html$
RewriteRule ^(.*)$ https://example.com/maintenance.html [R=307,L]
Bonus Section
As an added bonus, we’re thrilled to introduce some top-notch WooCommerce plugins to take your online business to the next level. These plugins will infuse your store with the latest features and functionalities, helping it stand out from competitors. It’s time to supercharge your sales by offering an immersive customer experience with these groundbreaking plugins!
Design a Stunning WooCommerce Store with ShopLentor
If you’re looking to create a stunning WooCommerce store, look no further than ShopLentor. This powerful plugin provides a wealth of customization options and features, allowing you to create a unique store that perfectly aligns with your brand’s image. Whether you prefer using the Elementor page builder or the Gutenberg block editor, this ShopLentor Plugin lets you create stunning pages for your online store with ease. One plugin conveniently includes all the functions needed to manage product categories, add-to-cart buttons, checkout processes, and filtering options, and you don’t have to be a coding expert to use it.
The Pro version of ShopLentor offers exciting advanced features like multi-step checkout, Pre-Order For WooCommerce, Order Bump, Email Automation, and more. Plus, ShopLentor gives you instant access to popular WooCommerce modules such as Wishlist and Quickview, all without having to install multiple plugins. Get started today and see for yourself why ShopLentor is the must-have plugin for any serious online retailer!
Design Your Dream Wholesale WooComemrce Store with Whols
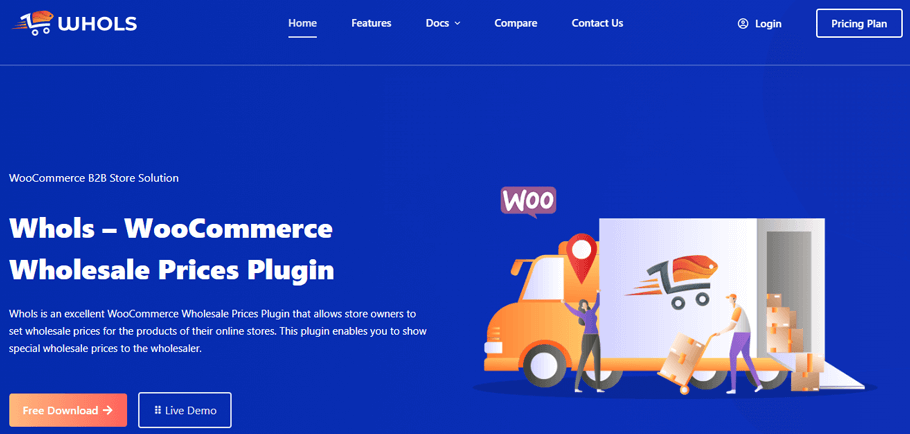
With its highly intuitive interface and powerful features, Whols provides an easy way to create personalized WholeSale stores for your customers. With the Whols Plugin, you can easily set wholesale prices on all products, customize registration messaging, offer free shipping based on roles, assign WooCommerce wholesale roles for the customers, apply wholesale prices globally, set minimum product quantity requirements, and even enable automatic approval. Worried about payment and shipping? No problem! The plugin handles it all, without requiring any coding knowledge. Start streamlining your wholesale process today with the Whols Plugin!
Notify Your WooComemrce Visitors About Important Events with HashBar

Introducing HashBar Pro – the powerful WordPress Notification Bar Plugin that will take your customer engagement to the next level! With unlimited notification bars, you can grab your audience’s attention and keep them coming back for more. With email subscription forms that can boost your subscribers by up to 500% and customizable promotions, you’ll never miss an opportunity to connect with your customers. Plus, with endless background color and image options, you can create a professional and visually appealing experience that your audience will love. Upgrade your website today with HashBar Pro!
Frequently Asked Questions
Q: What is maintenance mode?
A: Maintenance mode is a setting that allows you to temporarily disable public access to your WordPress website or WooCommerce store while making major changes. This setting helps protect your site from any potential security risks associated with having the changes made in an open environment.
Q: How do I put my WooCommerce store into maintenance mode?
A: If you want to put your WooCommerce store in maintenance mode, there are several options available. You could utilize a WP Maintenance Mode Plugin, an hPanel Dashboard from hosting provider Hostinger, or even the .htaccess File! All of these choices make it simple and straightforward to get your store up and running again with no downtime.
Q: What happens when maintenance mode is activated?
A: When maintenance mode is activated, a maintenance page will be displayed to any visitors who attempt to access the website. This maintenance page typically states that the website is under maintenance and provides an estimated amount of time until maintenance is completed.
Q: What maintenance tasks should I do while my WooCommerce store is in maintenance mode?
A: While your website is in maintenance mode, you can perform a variety of tasks to help improve the performance and security of your site. This may include updating plugins and themes, optimizing images for faster loading times, backing up the website, and performing security scans.
Q: How do I know when maintenance mode should be deactivated?
A: Once you have completed maintenance tasks on your site, you can deactivate maintenance mode from the WordPress Dashboard. It is important to note that maintenance mode should only be used for temporary maintenance periods and should not be left active for extended periods of time. Doing so could result in a decrease in website traffic or potential security risks to your site.
Q: What else should I keep in mind when using maintenance mode?
A: It is important to remember that maintenance mode does not prevent search engines from indexing and crawling your website. To ensure that search engines are not indexing any maintenance page content, you should use a maintenance tracking tool to monitor which pages on your site are being crawled. Additionally, if customers have already placed orders before maintenance mode was activated, those orders will still be processed even while maintenance mode is active.
Final Words about How to Put WooCommerce in Maintenance Mode
We hope you enjoyed learning about how to put WooCommerce in maintenance mode. Putting WooCommerce in Maintenance Mode can be a great way to improve the experience of customers on your website. Not only does it make your site seem more professional and organized, but it can reduce downtime and help to protect all of the data that is stored there. Moreover, using maintenance mode can keep visitors from accessing content or areas of a website that should not yet be active. This procedure makes it easier for the admin to make changes without ever having to worry about people seeing what’s going on behind the scenes.
Overall, implementing this step is essential when making significant website changes and it doesn’t take much time or effort. Plus, setting up your store correctly can help you reach potential customers and keep them coming back for more.