A checkout page refers to any website pages shown to a customer during the step-by-step checkout process.
Why Checkout Page Template is used?
On the Checkout Page, the “Checkout Page Template” is used to view the Checkout page template on WooCommerce. The “Checkout Page Template” is mainly designed for the Checkout Page.
Steps of adding Checkout Page Template
Go to WordPress Dashboard > WooLentor > Settings > WooCommerce Template. Turn ON the “Enable / Disable Template Builder“.
- You need to use the “Checkout Page Template” to view your Checkout page.
- To create the Checkout Page Template, turn ON the “Enable / Disable Template Builder“.
Step 1: How to create the Checkout Page Template?
If you want to leverage the Checkout page template on your WooCommerce store, you will need to use a template named “Checkout Page Template“ to create the Checkout page with WooLentor. Check out the process to easily understand how to create the Checkout Page Template, see the GIF image or follow the manual steps below.
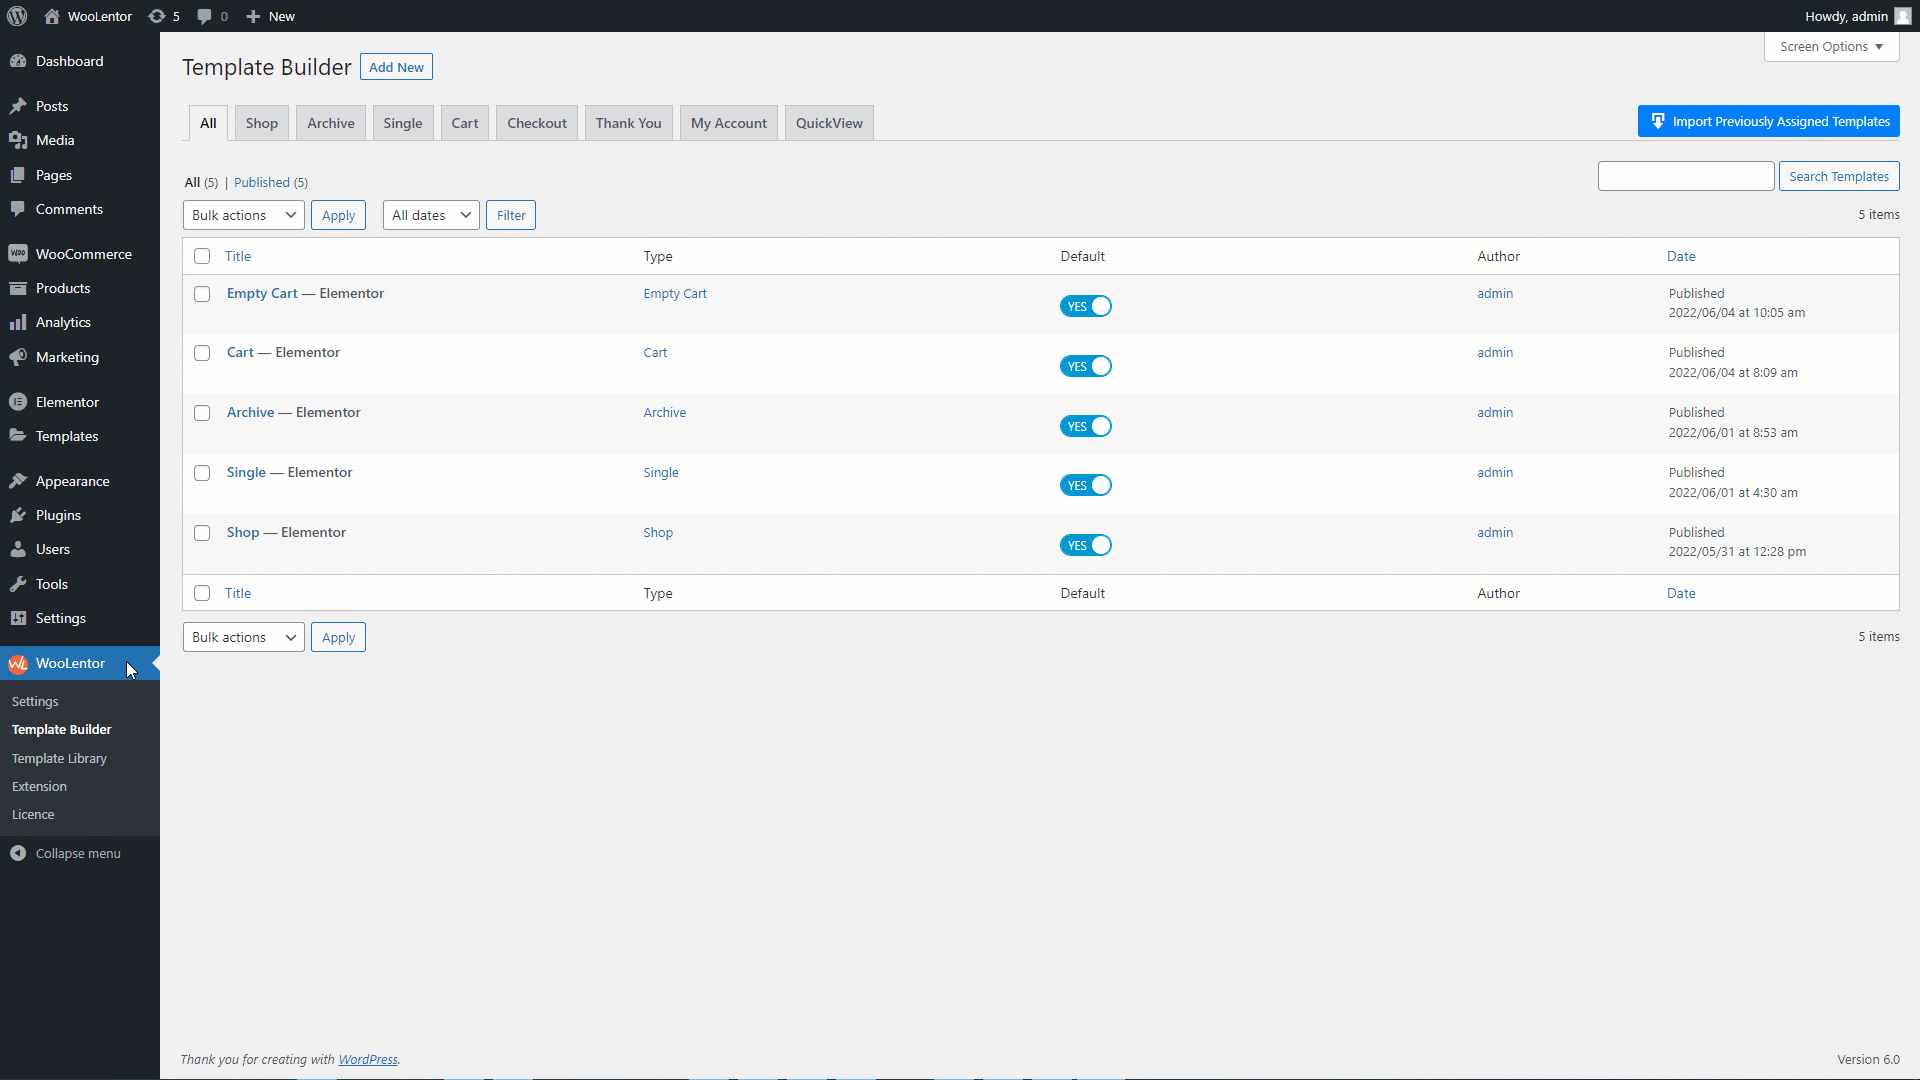
Go to Dashboard > WooLentor > Template Builder. Click the “Add New” button on the top right beside the text “Template Builder” to create a Checkout Page Template

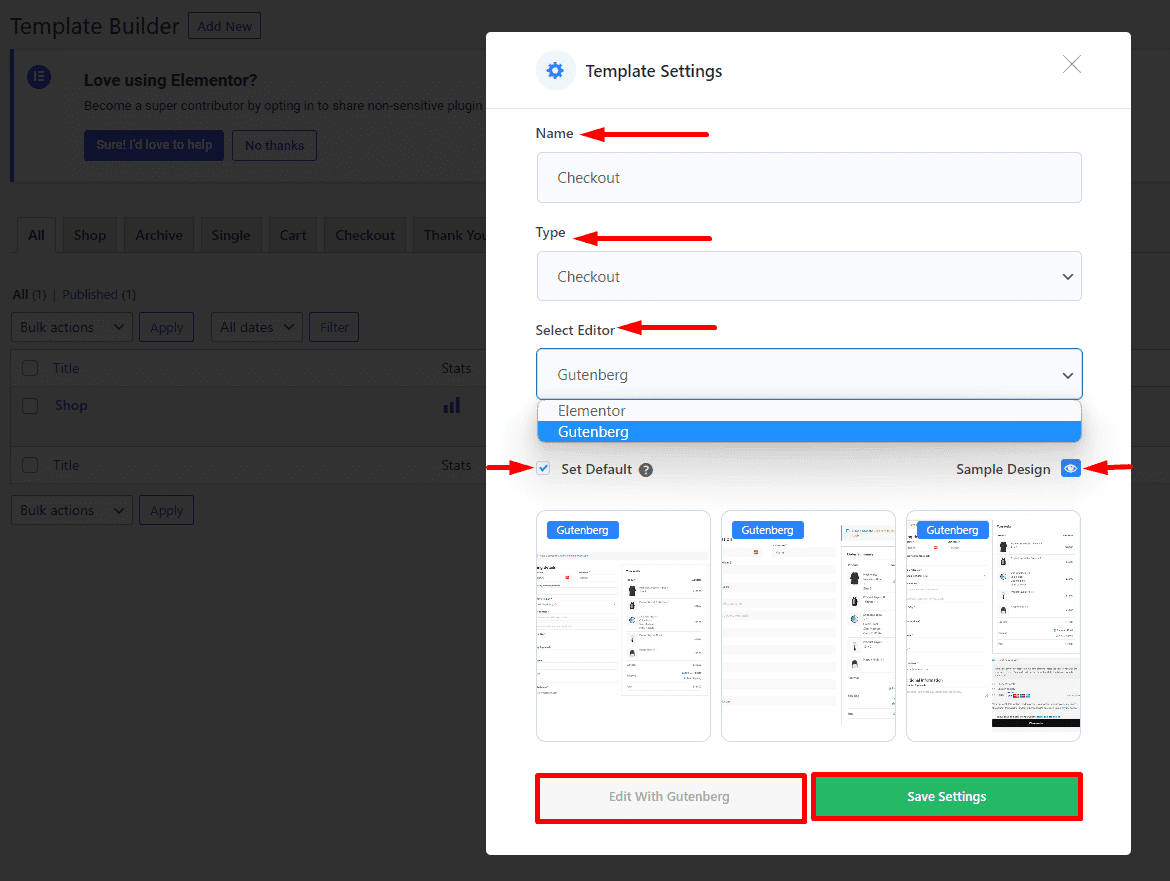
After clicking the “Add New” button, set the template settings from the popup and follow the steps below:
1- Enter a Name for the template.
2- Choose the template Type as “Checkout”.
3- Select the editor you want to use to edit the template. You have the flexibility to choose either Elementor or Gutenberg.
4- To set the template as default, enable the checkbox “Set Default”.
5- Select a “Sample Design” from the available templates or create your own design.
6- Click “Save Settings” button to save the template.
7- Then click “Edit With Elementor” or “Edit With Gutenberg” button to edit the template according to your needs.
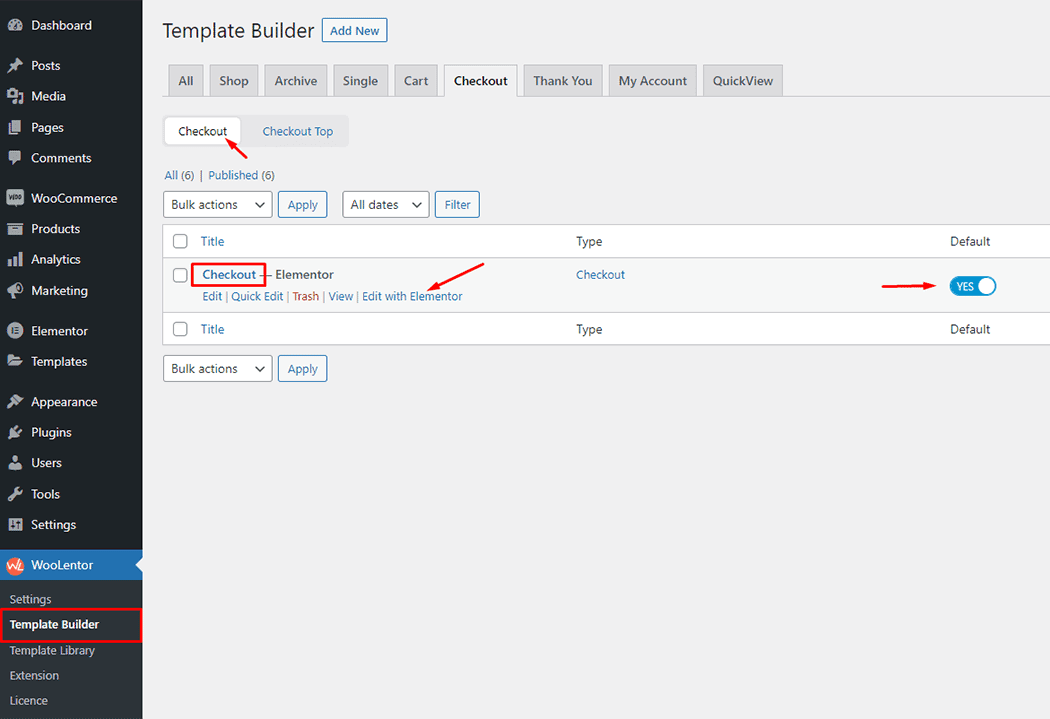
To add the Widget, click the “Edit with Elementor” button to edit the Checkout Page Template
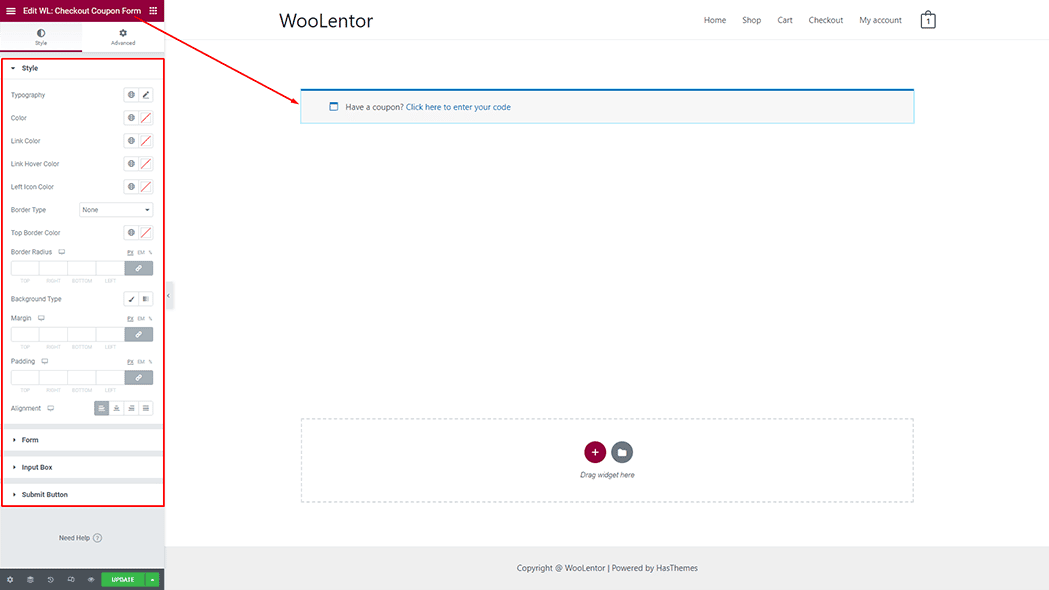
To add a Checkout Coupon Form widget, search by “Checkout Coupon Form” and use the widget that has the “WL Badge”. If you want to know more about the Checkout Coupon Form widget click here.
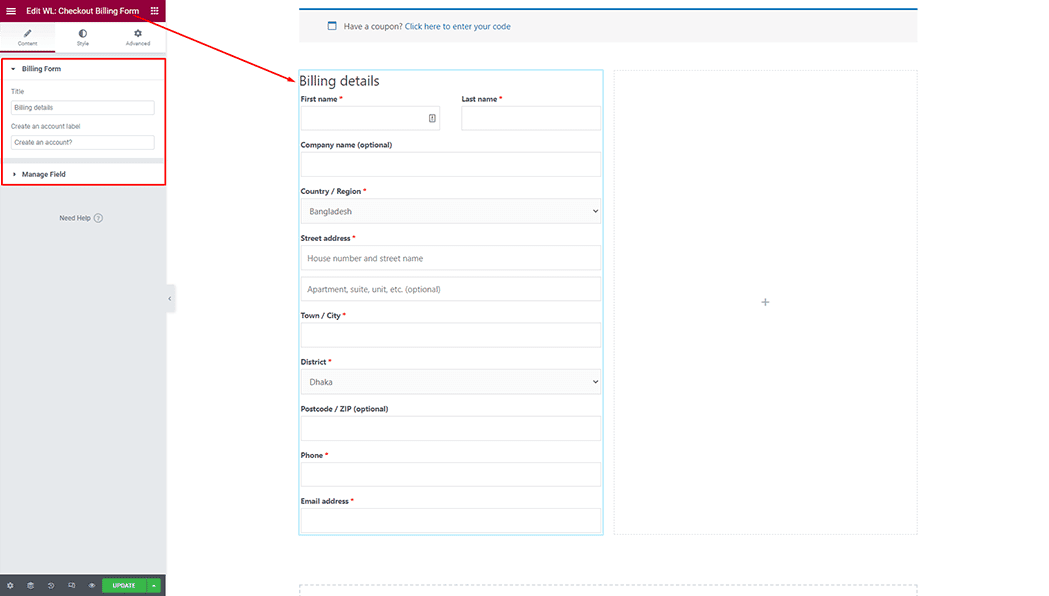
To add a Checkout Billing Form widget, search by “Checkout Billing Form” and use the widget that has the “WL Badge”. If you want to know more about the Checkout Billing Form widget click here.
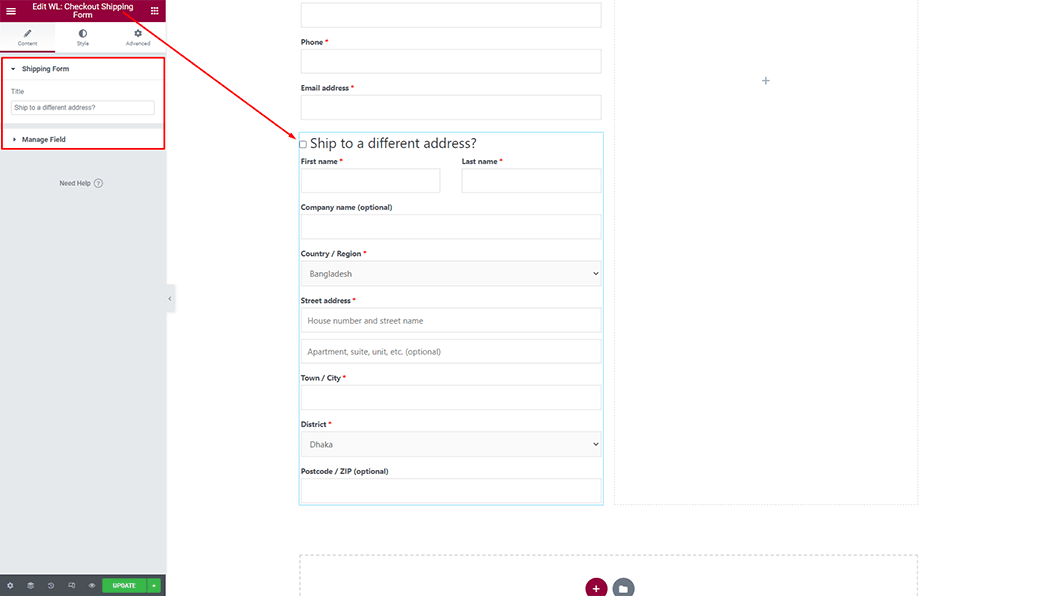
To add a Checkout Shipping Form widget, search by “Checkout Shipping Form” and use the widget that has the “WL Badge”. If you want to know more about the Checkout Shipping Form widget click here.
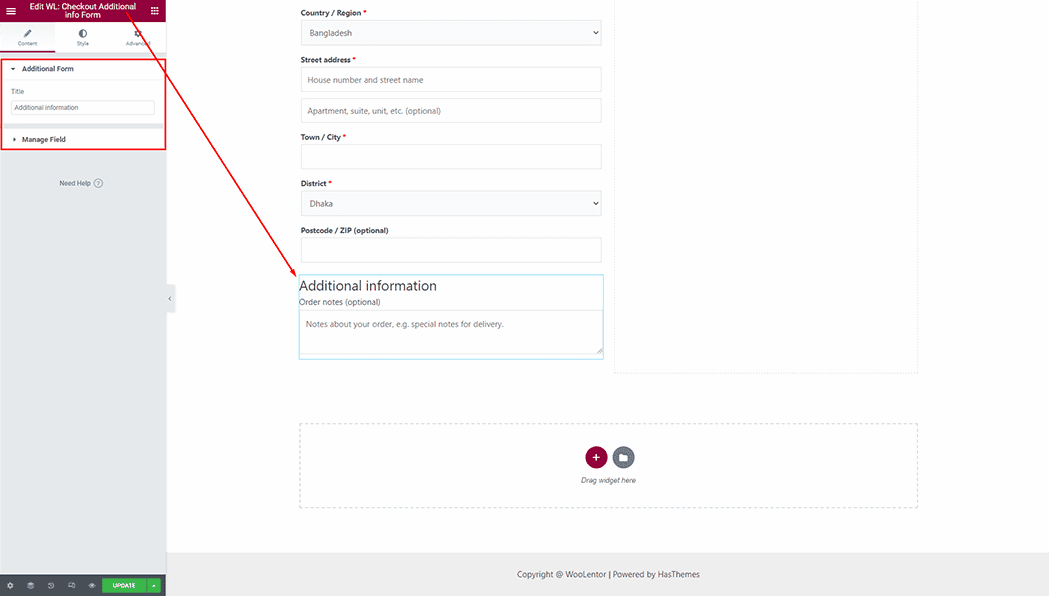
To add a Checkout Additional info Form widget, search by “Checkout Additional info Form” and use the widget that has the “WL Badge”. If you want to know more about the Checkout Additional info Form widget click here.
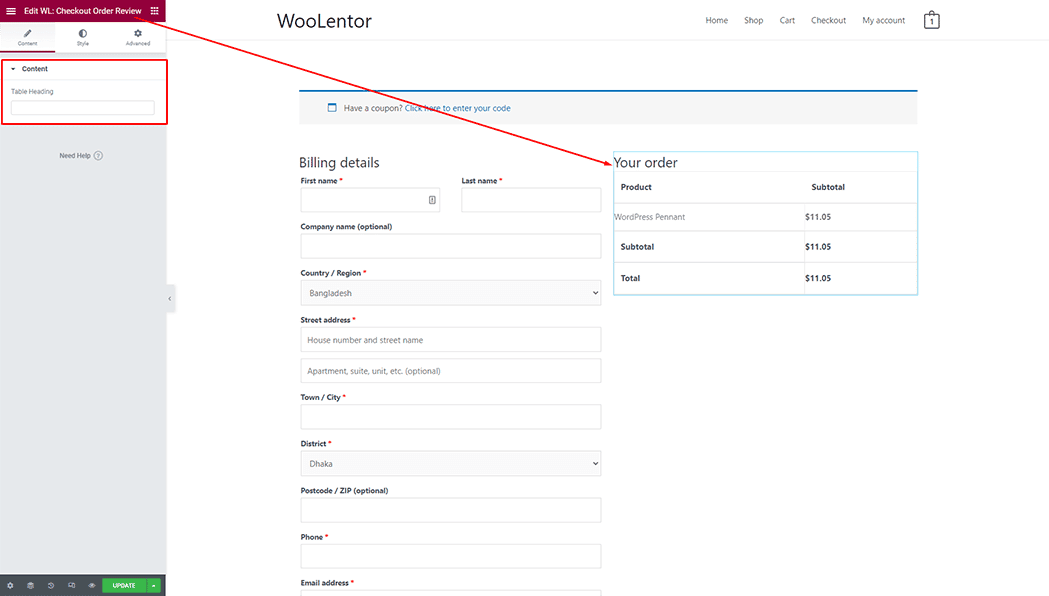
To add a Checkout Order Review widget, search by “Checkout Order Review” and use the widget that has the “WL Badge”. If you want to know more about the Checkout Order Review widget click here.
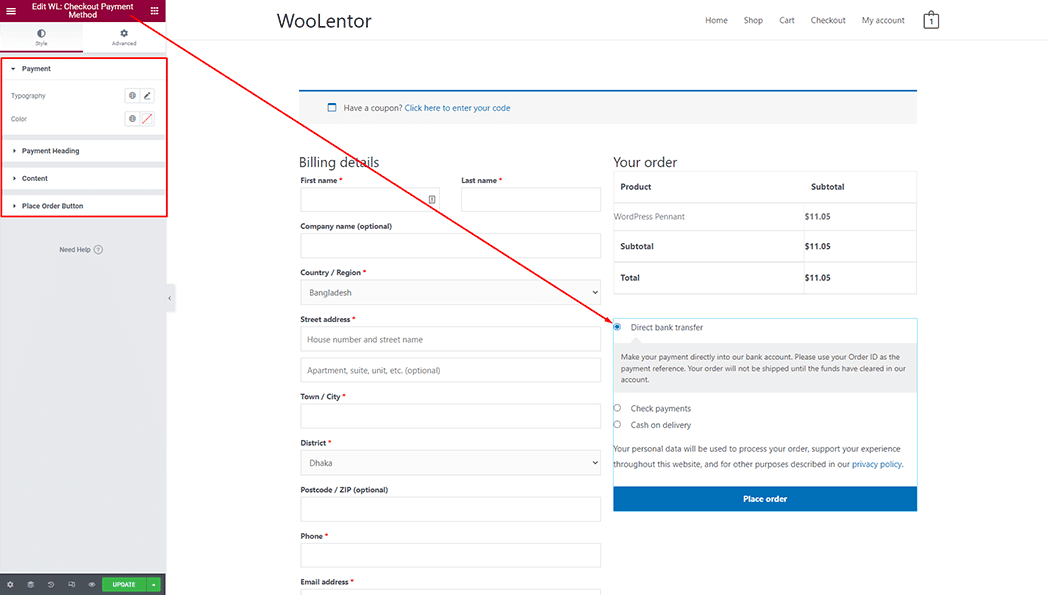
To add a Checkout Payment Method widget, search by “Checkout Payment Method” and use the widget that has the “WL Badge”. If you want to know more about the Checkout Payment Method widget click here.
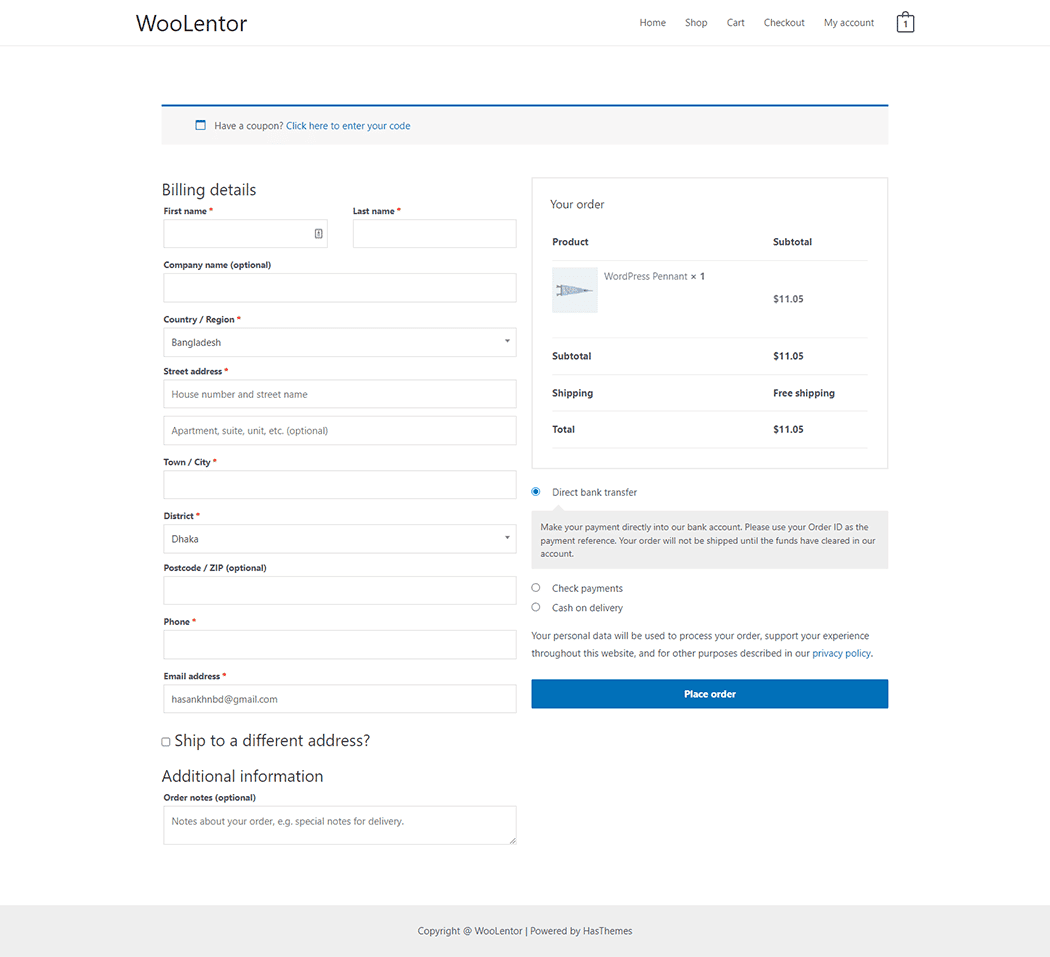
Step 3: Now visit the site
Visit the Checkout Page Template to Preview.
From the style setting make necessary customization from the available options.