The “Product Categories” widget is the special widget that is used for the single product page. It’s mainly designed to make it easier for customers to find products in different categories.
Why Product Categories is used?
On the Product Single page, “WL: Product Categories” widget is used for the Product Single page on WooCommerce.
The “Product Categories” widget is mainly designed for the Product Single page.
Steps for adding Product Categories
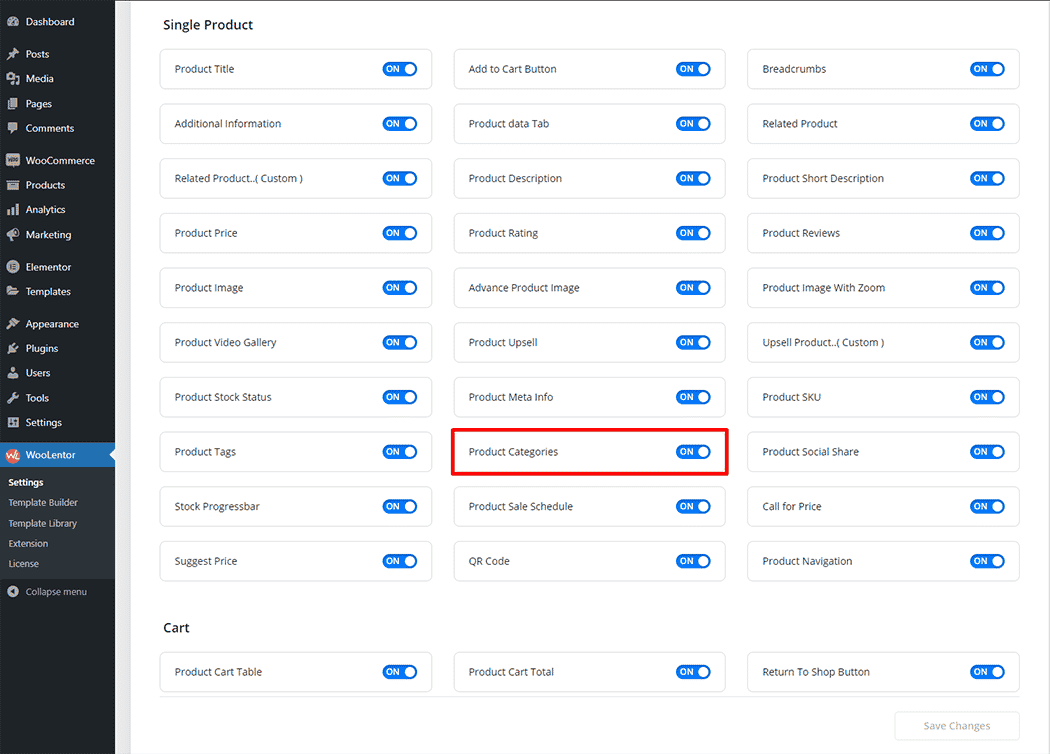
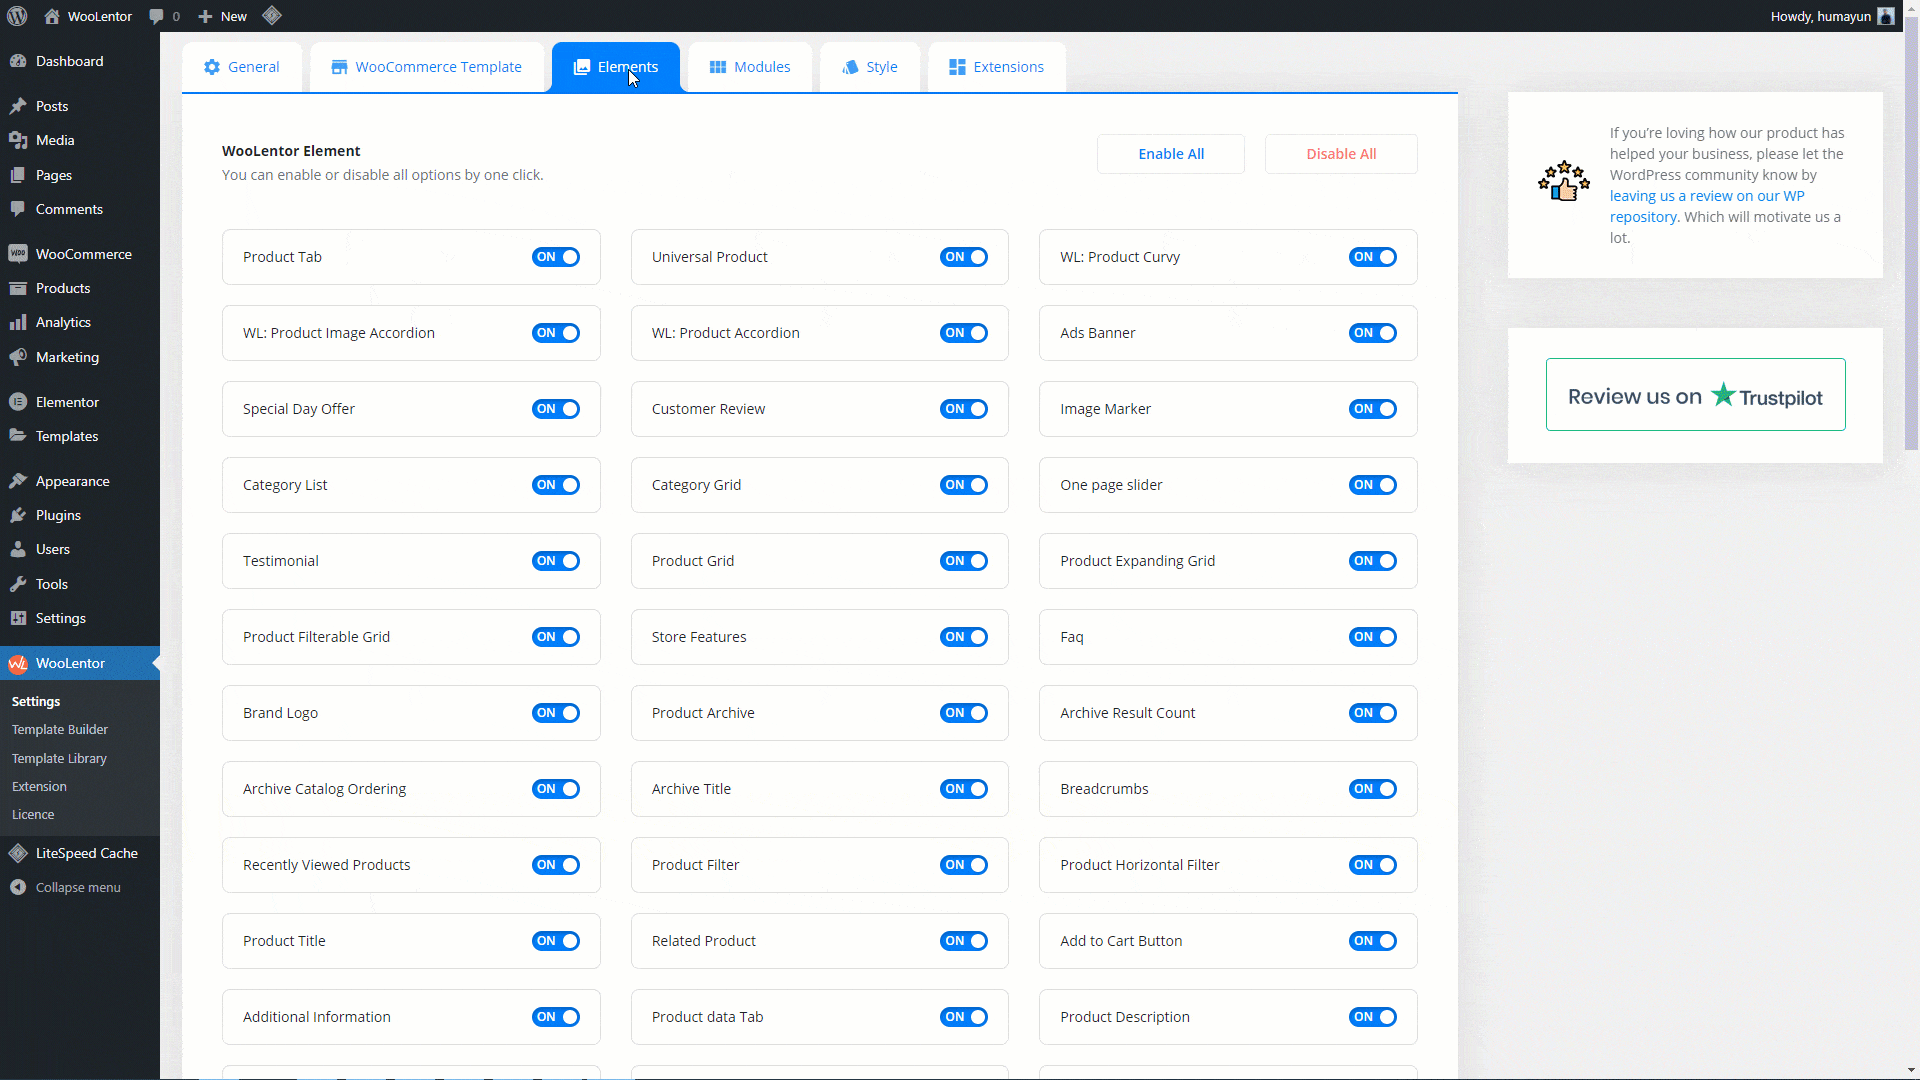
Go to WordPress Dashboard > WooLentor > Settings > Elements. From the list of Elements, turn ON the “Product Categories” widget.
- You need to use the “Product Categories” widget on the Product Single Page Template.
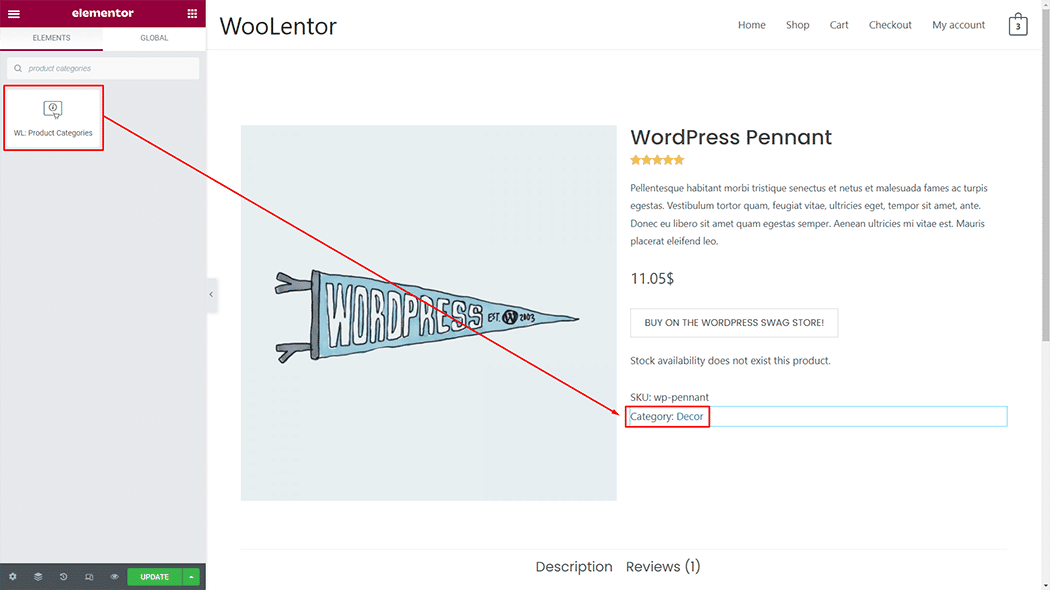
- To add a Product Categories widget, Drag and drop the “WL: Product Categories” widget onto the Product Single Page Template.
Step 1: How to Enable Product Categories?
Go to Dashboard > WooLentor > Settings > Elements. From the list of Elements, turn ON the Product Categories widget.
Step 2: How to use the Product Categories Widget?
If you want to leverage the Product Categories feature on your WooCommerce store, you will need to use a widget named “Product Categories“. To do so, simply search the widget in the Elementor widget panel, and use it on the corresponding template that you have created for the Single Product Page.
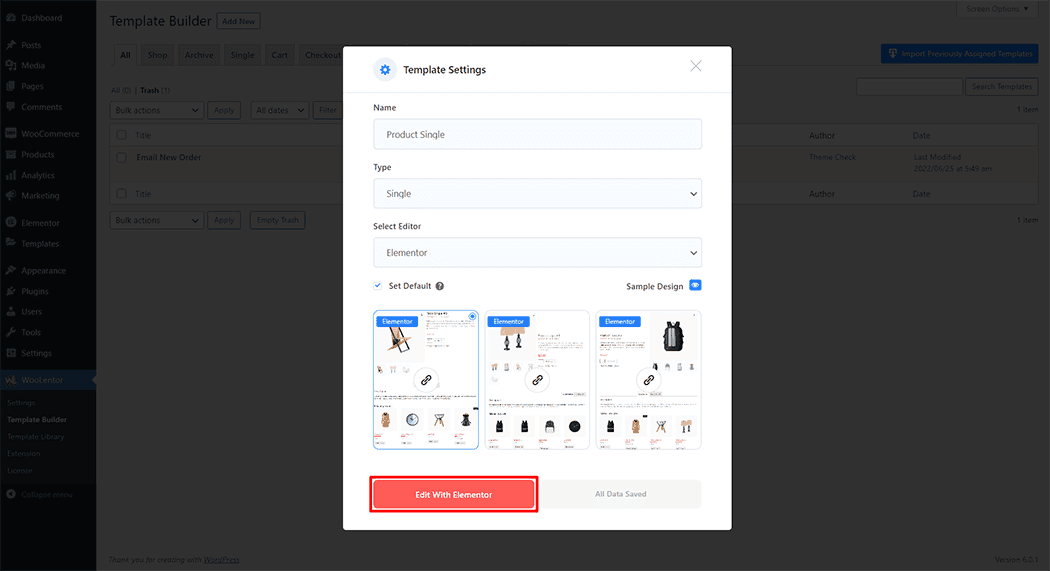
Go to Dashboard > WooLentor > Template Builder. Click the “Add New” button on the top right beside the text “Template Builder” to create a Single Page Template

Set the name of your Template in the popup box for template settings. Then click the “Set Default” checkbox after selecting Single from the dropdown type list. You can choose a default sample design from the “Sample Design” button. Now click the “Save Settings” button to save your settings.

To add the Product Categories widget, click the “Edit with Elementor” button to edit the Single Page Template
To add a Product Categories widget, search by “Product Categories” and use the widget that has the “WL Badge”.
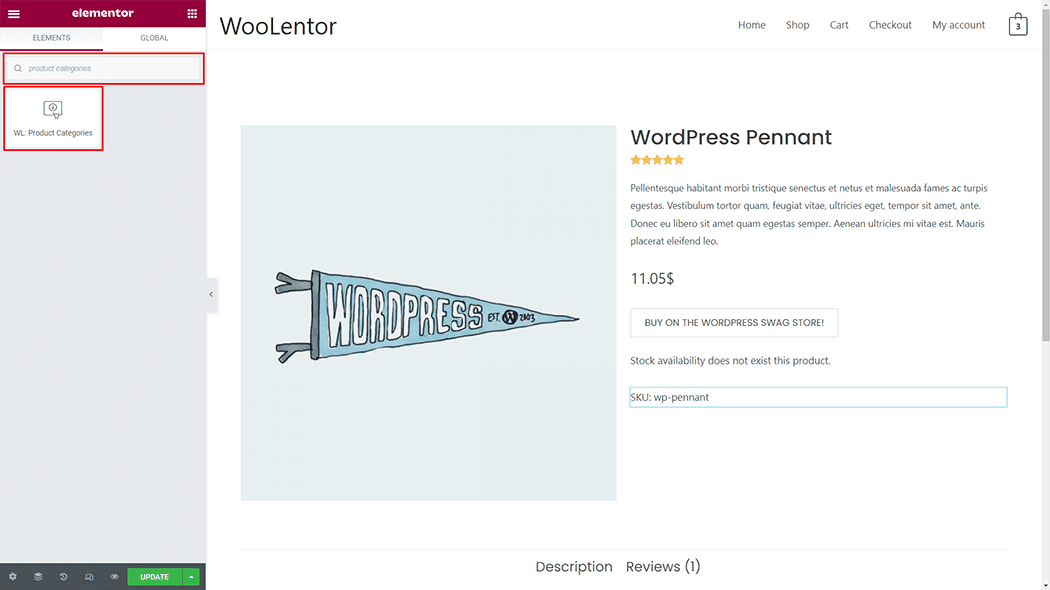
Drag and drop the WooLentor “Product Categories” widget onto the Single Page Template.
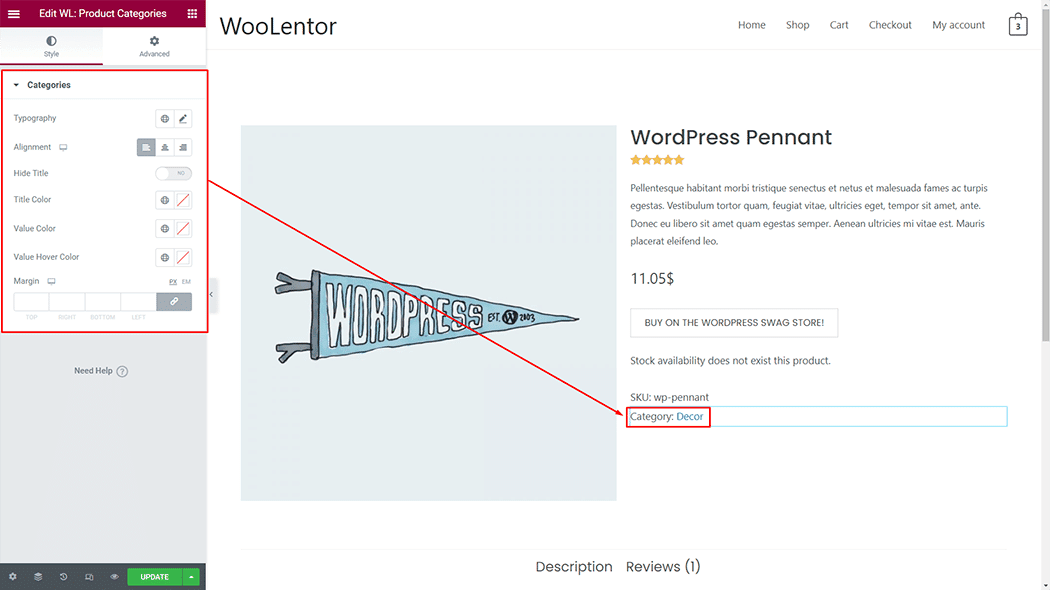
Step 3: How to customize the Product Categories Widget?
Categories: You can change the Categories style as you need
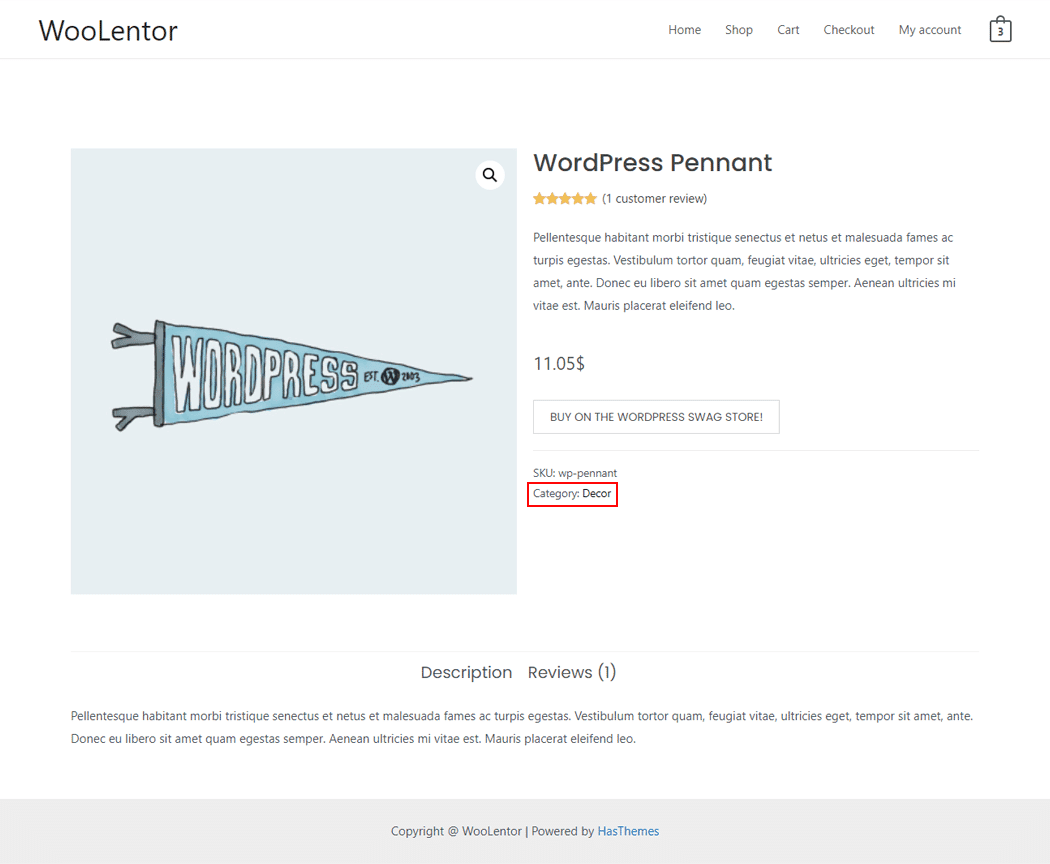
Step 4: Now visit the site
Visit the Single Page Template to Preview.
From the style, and setting make necessary customization from the available options.