A “Testimonial” widget is effectively a review or recommendation from a client, letting other people know how your products or services benefitted them. Customer testimonials can take multiple forms, but the goal is always the same: to showcase how great your brand is.
Why Testimonial is used?
On the Page, the “Testimonial” widget is used to view Customer Reviews on the Page on WooCommerce. The “Testimonial” widget is mainly designed for the Page.
Steps of adding Testimonial
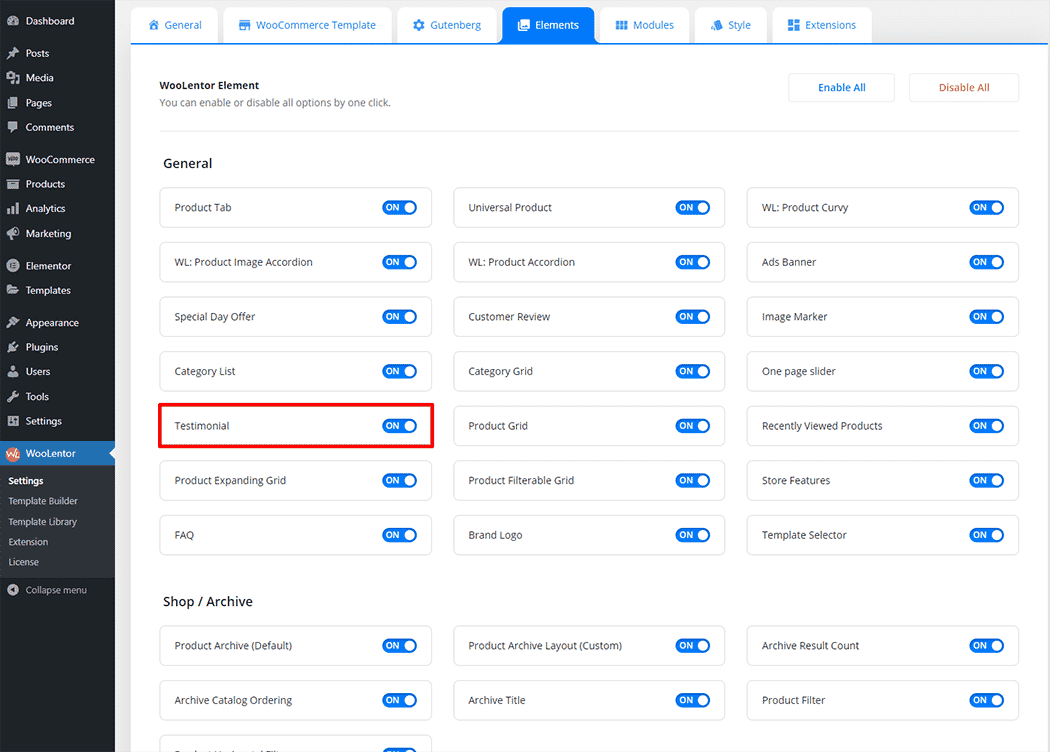
Go to WordPress Dashboard > WooLentor > Settings > Elements. From the list of Elements, turn ON the “Testimonial” widget.
- You need to use the “Testimonial” widget to view your Customer Review on the Page.
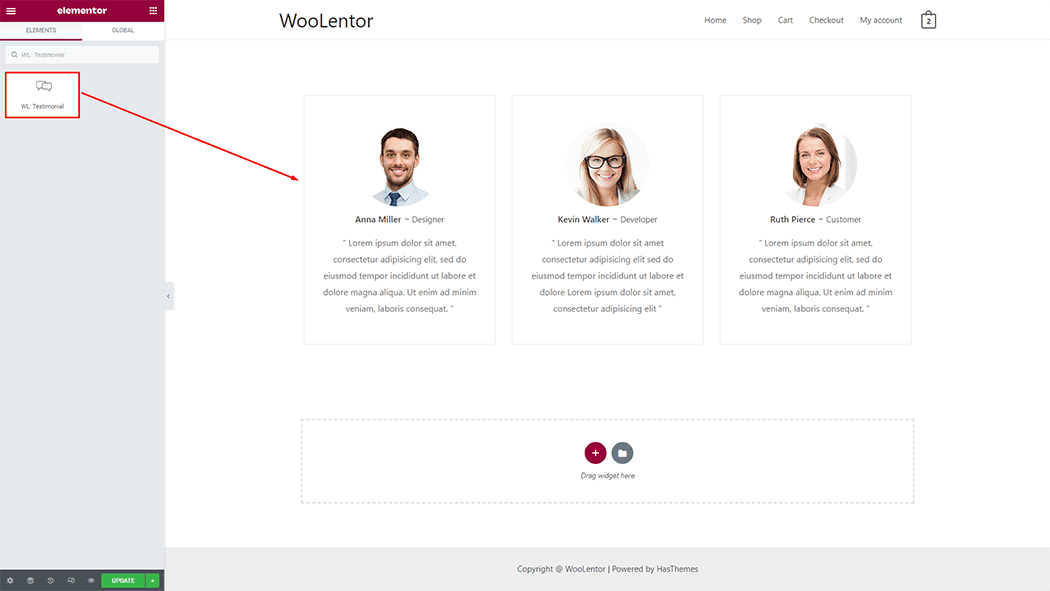
- To add a Testimonial, Drag and drop the WL: Testimonial widget onto the Page.
Step 1: How to Enable Testimonial Widget?
Go to Dashboard > WooLentor > Settings > Elements. From the list of Elements, turn ON the Testimonial widget.
Step 2: How to use the Testimonial Widget?
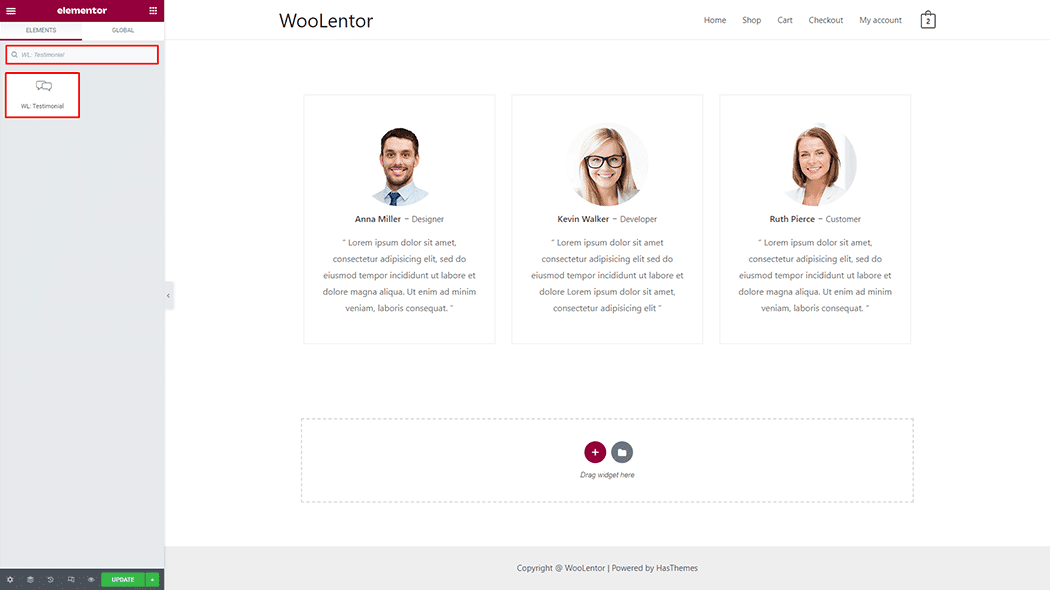
If you want to leverage the Testimonial feature on your WooCommerce store, you will need to use a widget named “WL: Testimonial“. To do so, simply search the widget in the Elementor widget panel, and use it on the corresponding template that you have created for the Page.
To add the Testimonial widget, search by “Testimonial” and use the widget that has the “WL Badge”.
Drag and drop the WooLentor WL: Testimonial widget onto the Page.
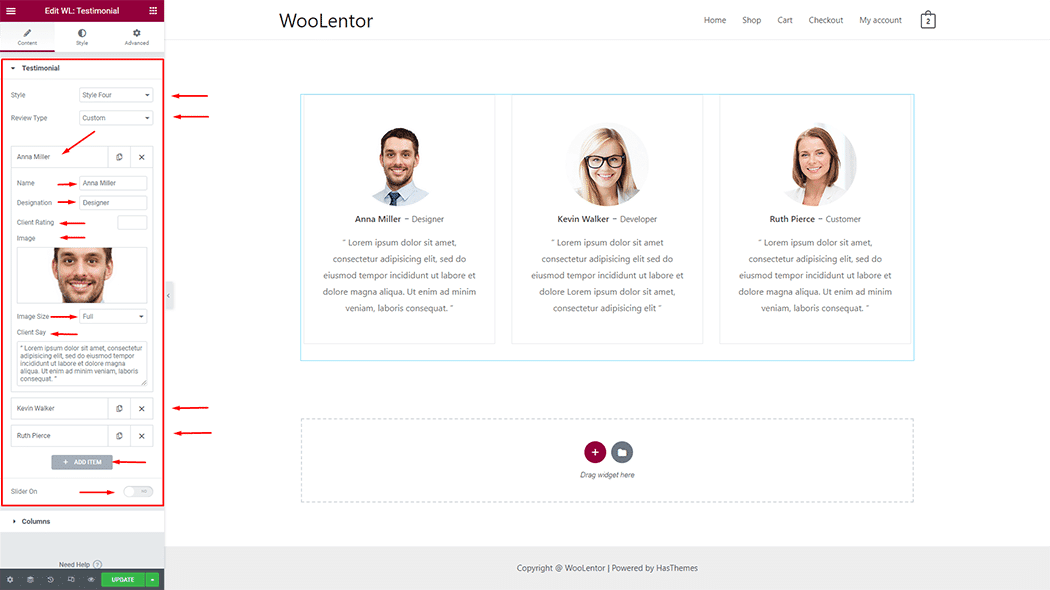
Step 3: How to customize the Testimonial Widget?
Testimonial: You can set different layout styles and types, and also can change the name, designation, client rating, image, image size, and client say of the item.
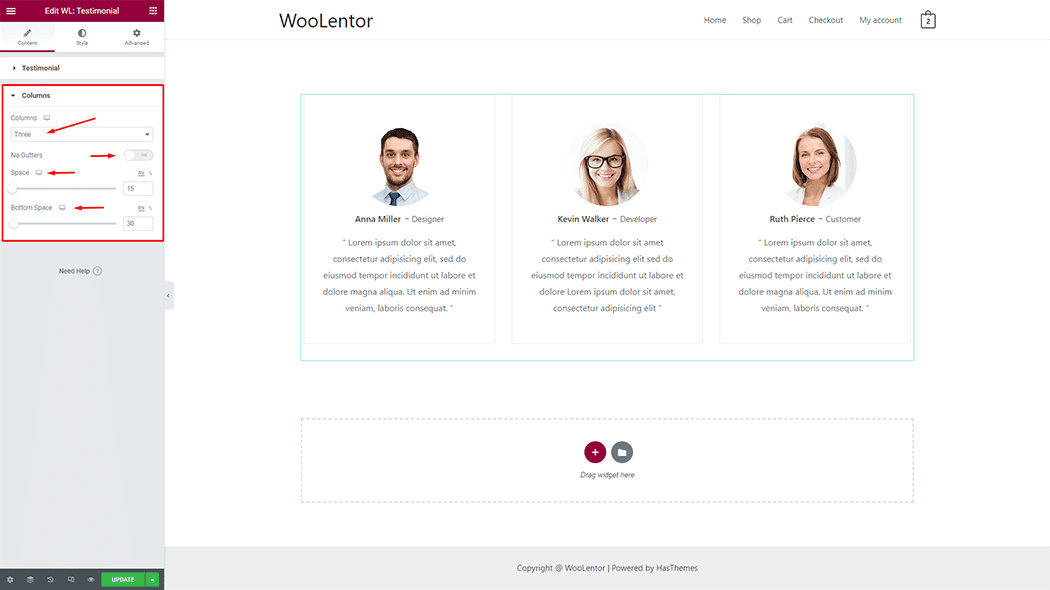
Columns: You can set Columns and Spaces.
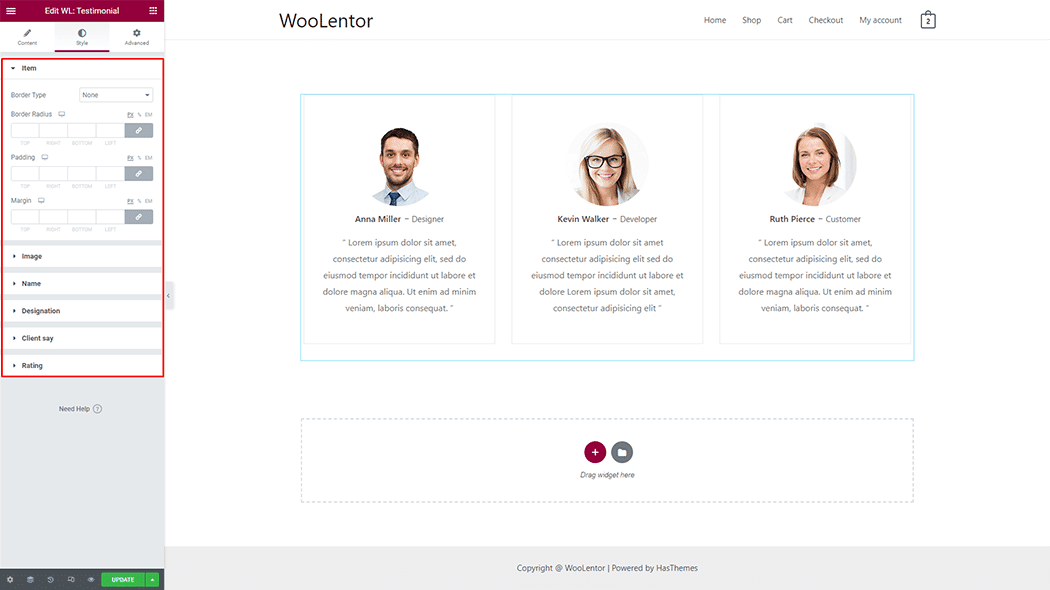
How to customize the Testimonial style
You can change the typography, text color, border color, padding, and margin style of the Testimonial as needed.
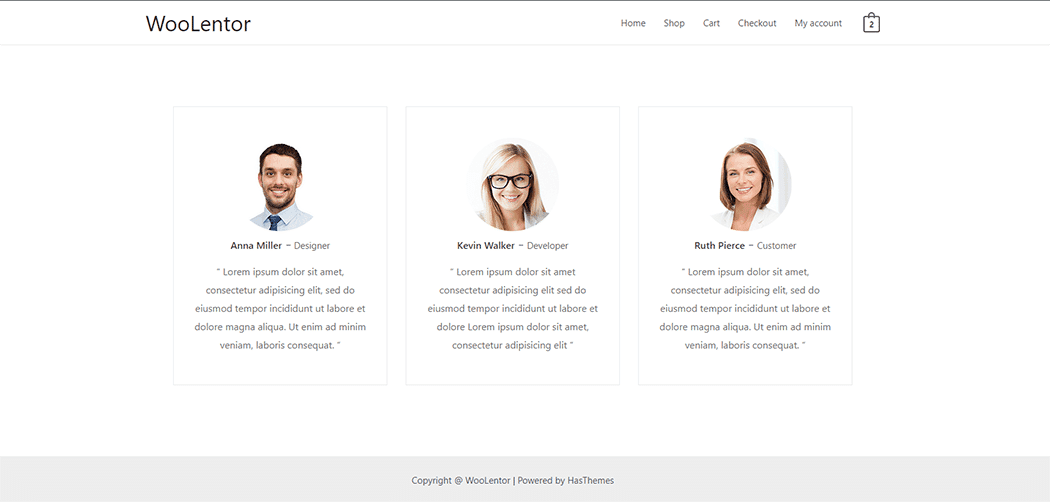
Step 4: Now visit the site
Visit the Page to Preview.
From the style setting make necessary customization from the available options.